Source Control
Azure DevOps
Source control integrations can be configured for Self-Hosted Runners. You can set up a Azure DevOps integration during runner creation or in the runner settings. Self-hosted Azure DevOps instances are supported by changing the Host during setup.
Configuring Azure DevOps Access
You can skip this step if someone has already set up the runner for you and SCM
integration with Azure DevOps has already been configured. In that case, you
can go directly to Authorizing Azure DevOps Access.
This step allows administrators to configure what authorization methods (OAuth,
PATs) and SCM providers (GitHub, Azure DevOps, Bitbucket, Azure DevOps) will
be available for authorization.
Self-Hosted Runners
For self-hosted runners (like AWS), Azure DevOps integration is configured during runner creation or in the runner settings. There are two ways to integrate with Azure DevOps. Both can be used simultaneously:- OAuth App (Recommended): Using a Microsoft Entra ID OAuth app allows users to sign in more quickly. You’ll need to set up an OAuth app within Microsoft Entra ID.
- Personal Access Token (PAT): Each user will need to create a Personal Access Token. They will be provided with a deep link to do so on their first environment creation.
Using OAuth
Microsoft Entra ID is required for OAuth-based authentication with Azure DevOps repositories.
This integration uses Microsoft Entra OAuth apps to provide authentication
for Azure DevOps repositories. For more details, see the
Microsoft Entra OAuth documentation.
- Go to Settings > Runners and select the runner for which you want to configure OAuth.
-
Navigate to the “Configure repository access” section and click “Add a new provider”.
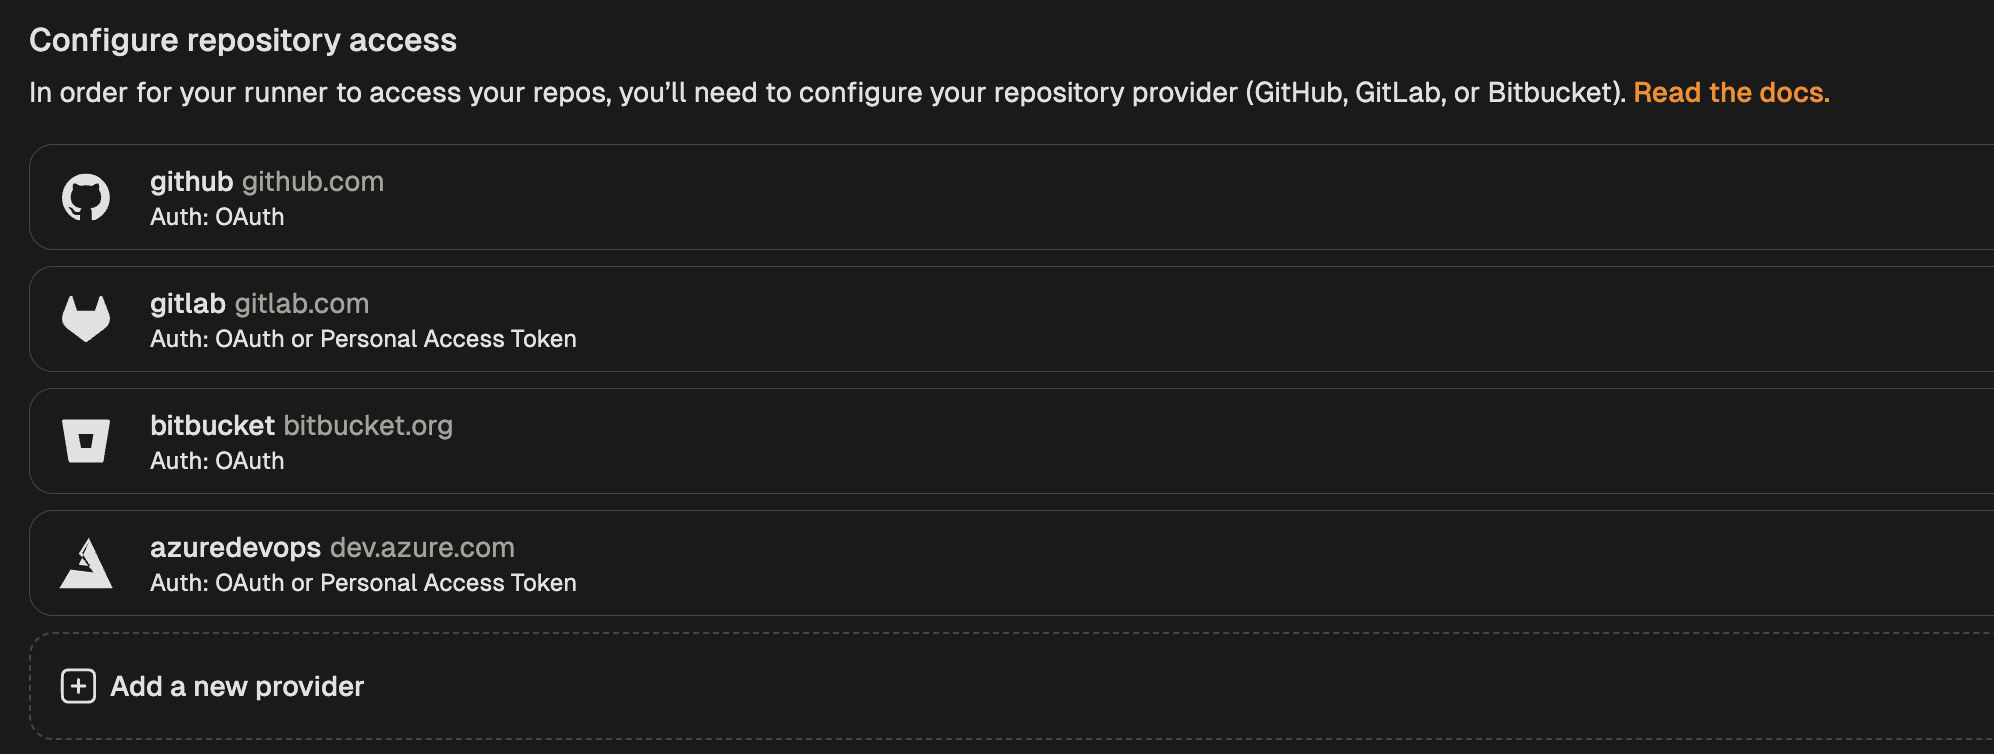
Add new provider
- Select Azure DevOps (Entra ID) from the list of providers.
-
In the “Configure repository access” modal, select “Enable OAuth”.
- Copy the callback URL and use it to create a new OAuth app in Microsoft Entra ID.
- The Client ID and Client Secret will be created in the following steps.
- The Issuer URL is specific to your Entra ID tenant:
- for example:
https://login.microsoftonline.com/00000000-0000-0000-0000-000000000000/oauth2/v2.0
- for example:
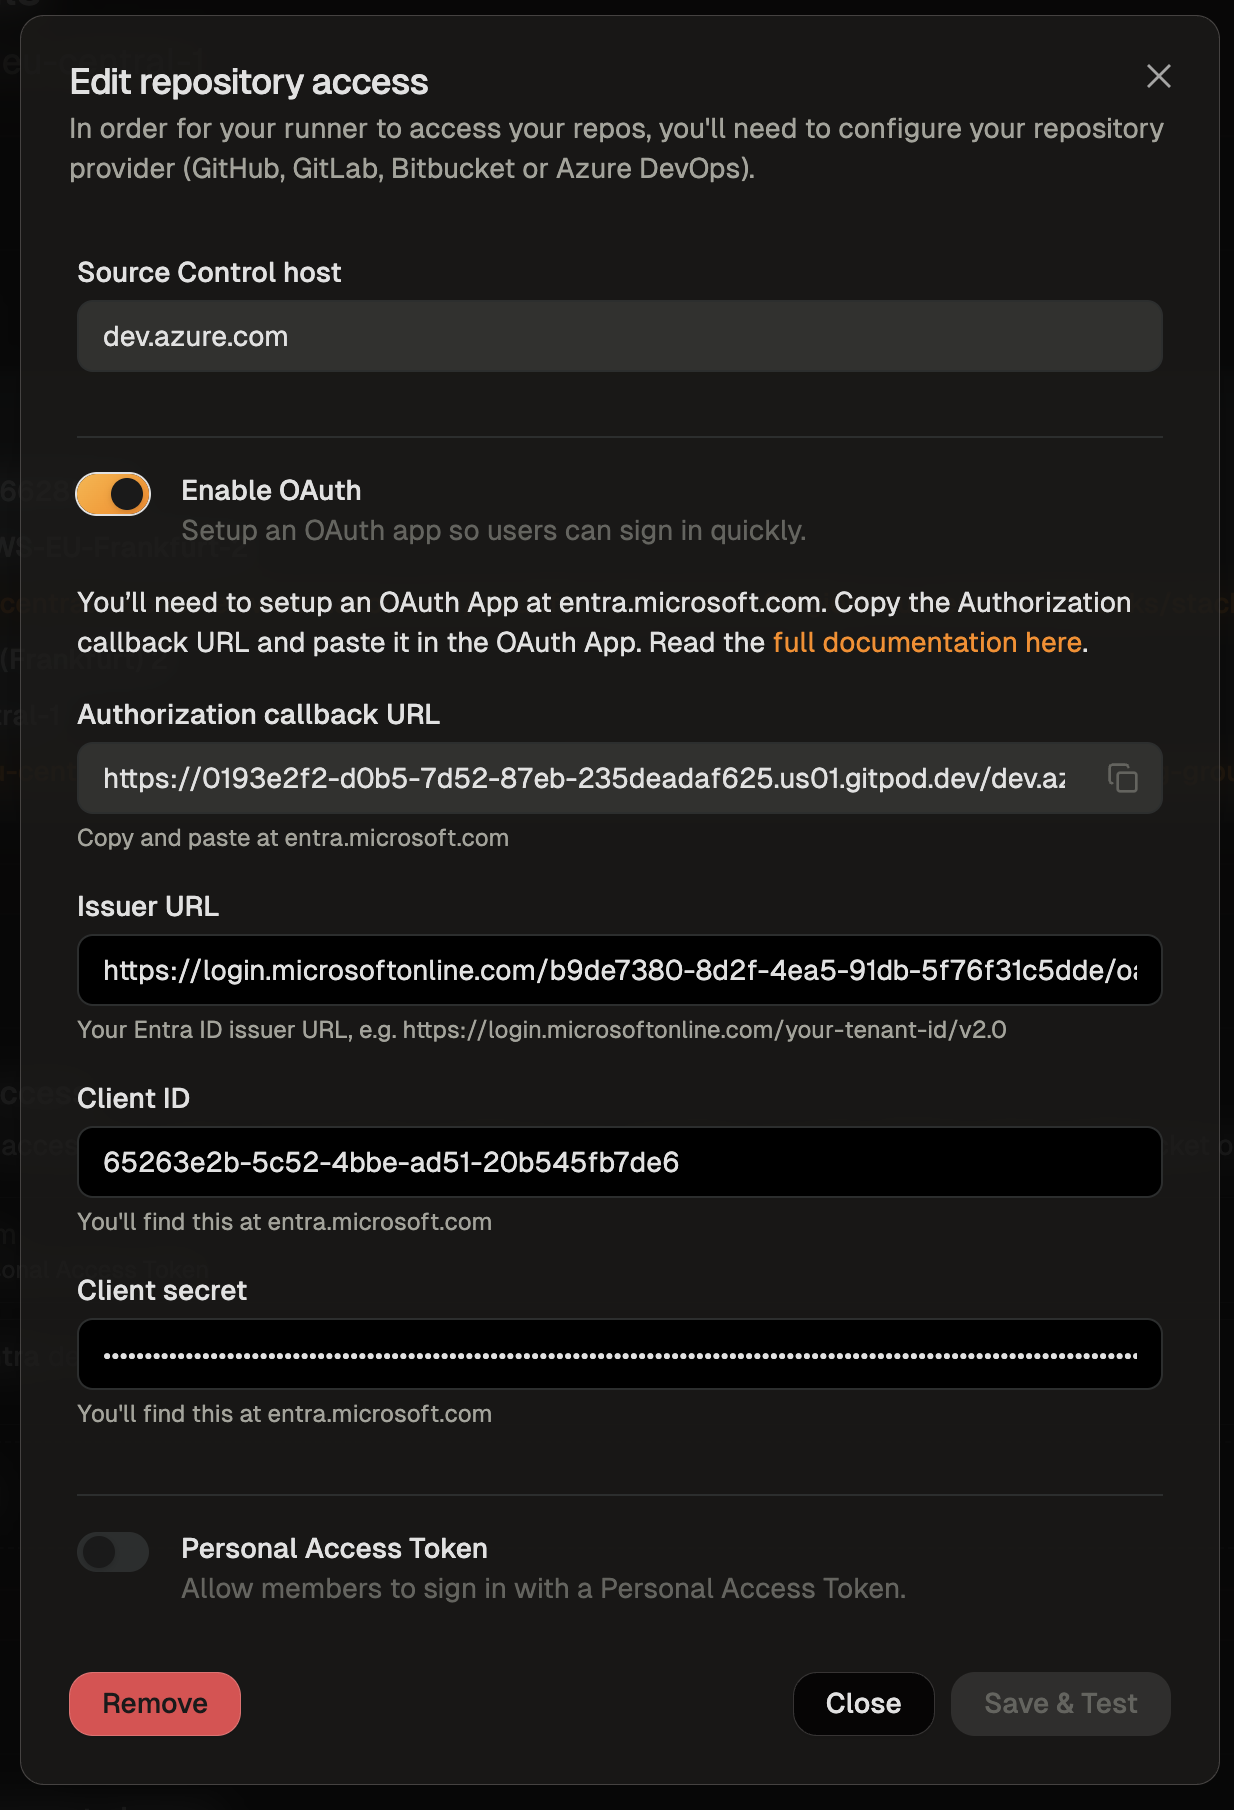
Enable Azure DevOps OAuth
-
Create a Microsoft Entra ID OAuth app by following these steps:
Create OAuth App Registration in Microsoft Entra ID:
- Go to the Azure Portal and navigate to Microsoft Entra ID
- Select App registrations and click New registration
- Provide a name for your application (e.g., “Gitpod Azure DevOps Integration”)
- Copy the Client ID from the Overview page and enter it in Gitpod’s “Configure repository access” dialog
- Obtain the Issuer URL to be entered in Gitpod’s “Configure repository access” dialog from Overview > Endpoints
- Use the v2.0 URL, e.g.
https://login.microsoftonline.com/00000000-0000-0000-0000-000000000000/oauth2/v2.0
- Use the v2.0 URL, e.g.
- In your app registration, go to Manage > Authentication
- Ensure Web platform is selected
- Enable ID tokens under the Implicit grant and hybrid flows section
Create Client Secret: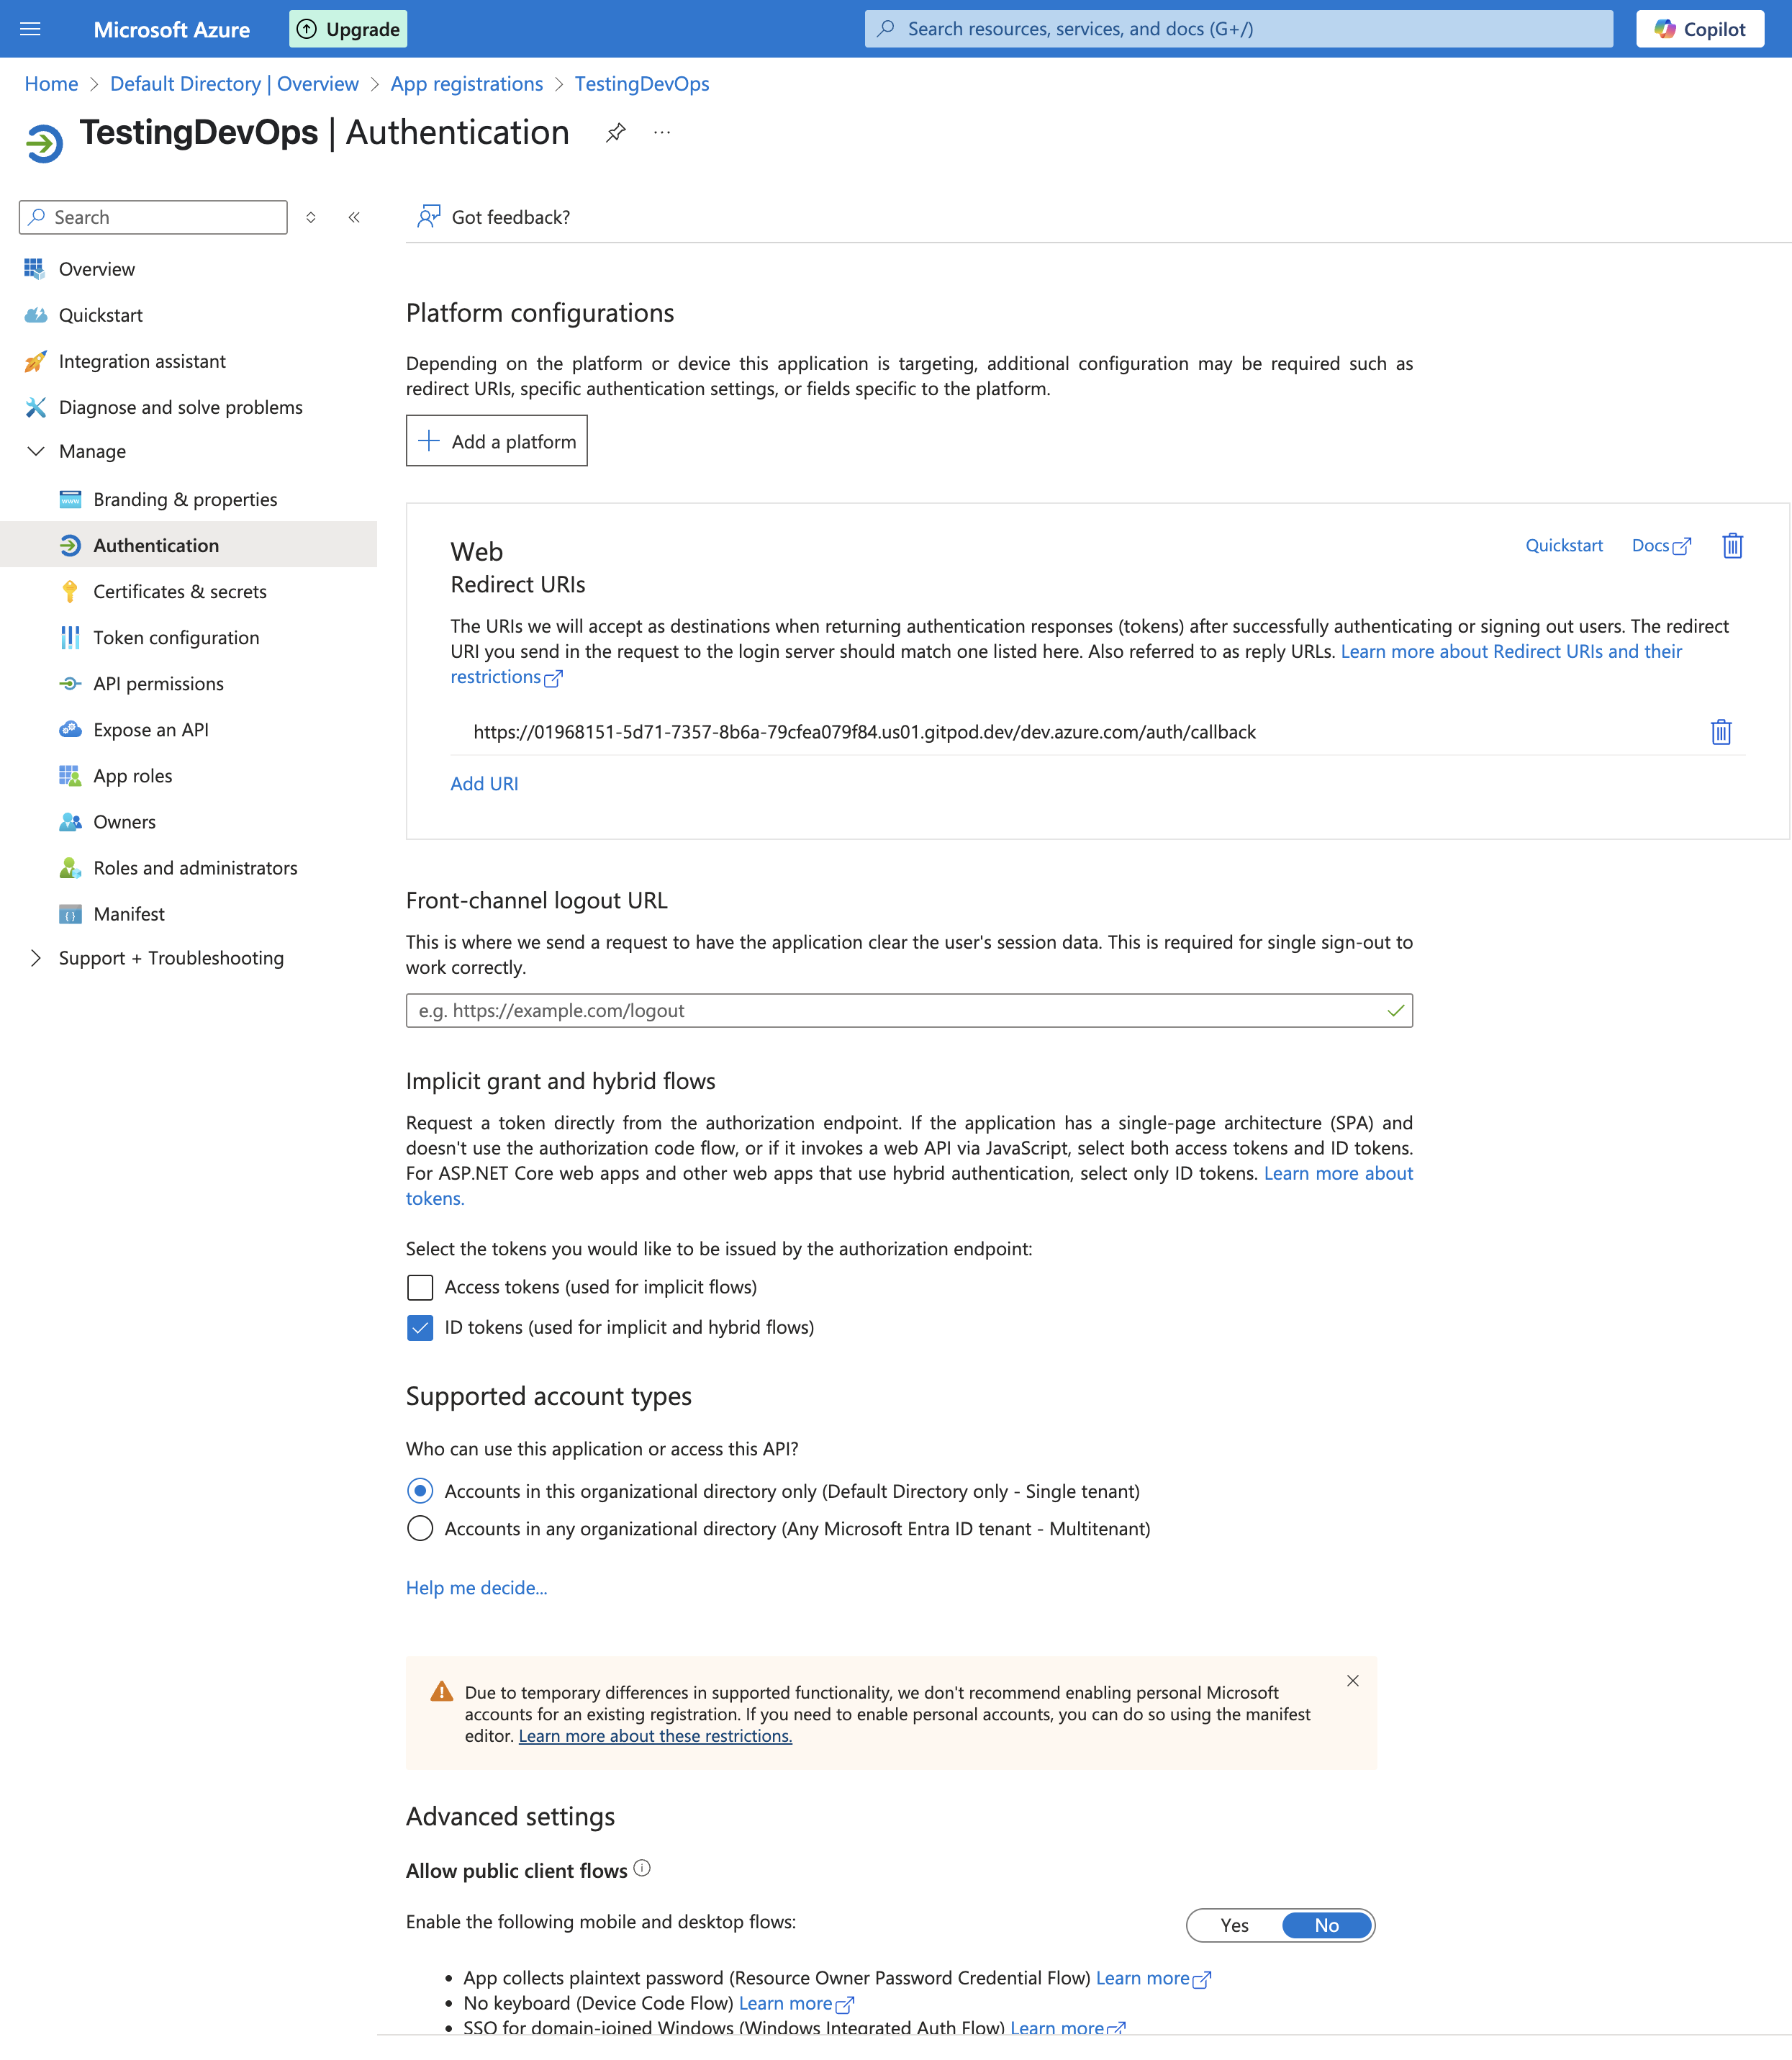
Configure authentication settings
- Navigate to Manage > Certificates & secrets
- Click New client secret
- Add a description and set expiration as needed
- Copy the Value and use it to enter the Client Secret in Gitpod’s “Configure repository access” dialog
Configure API Permissions: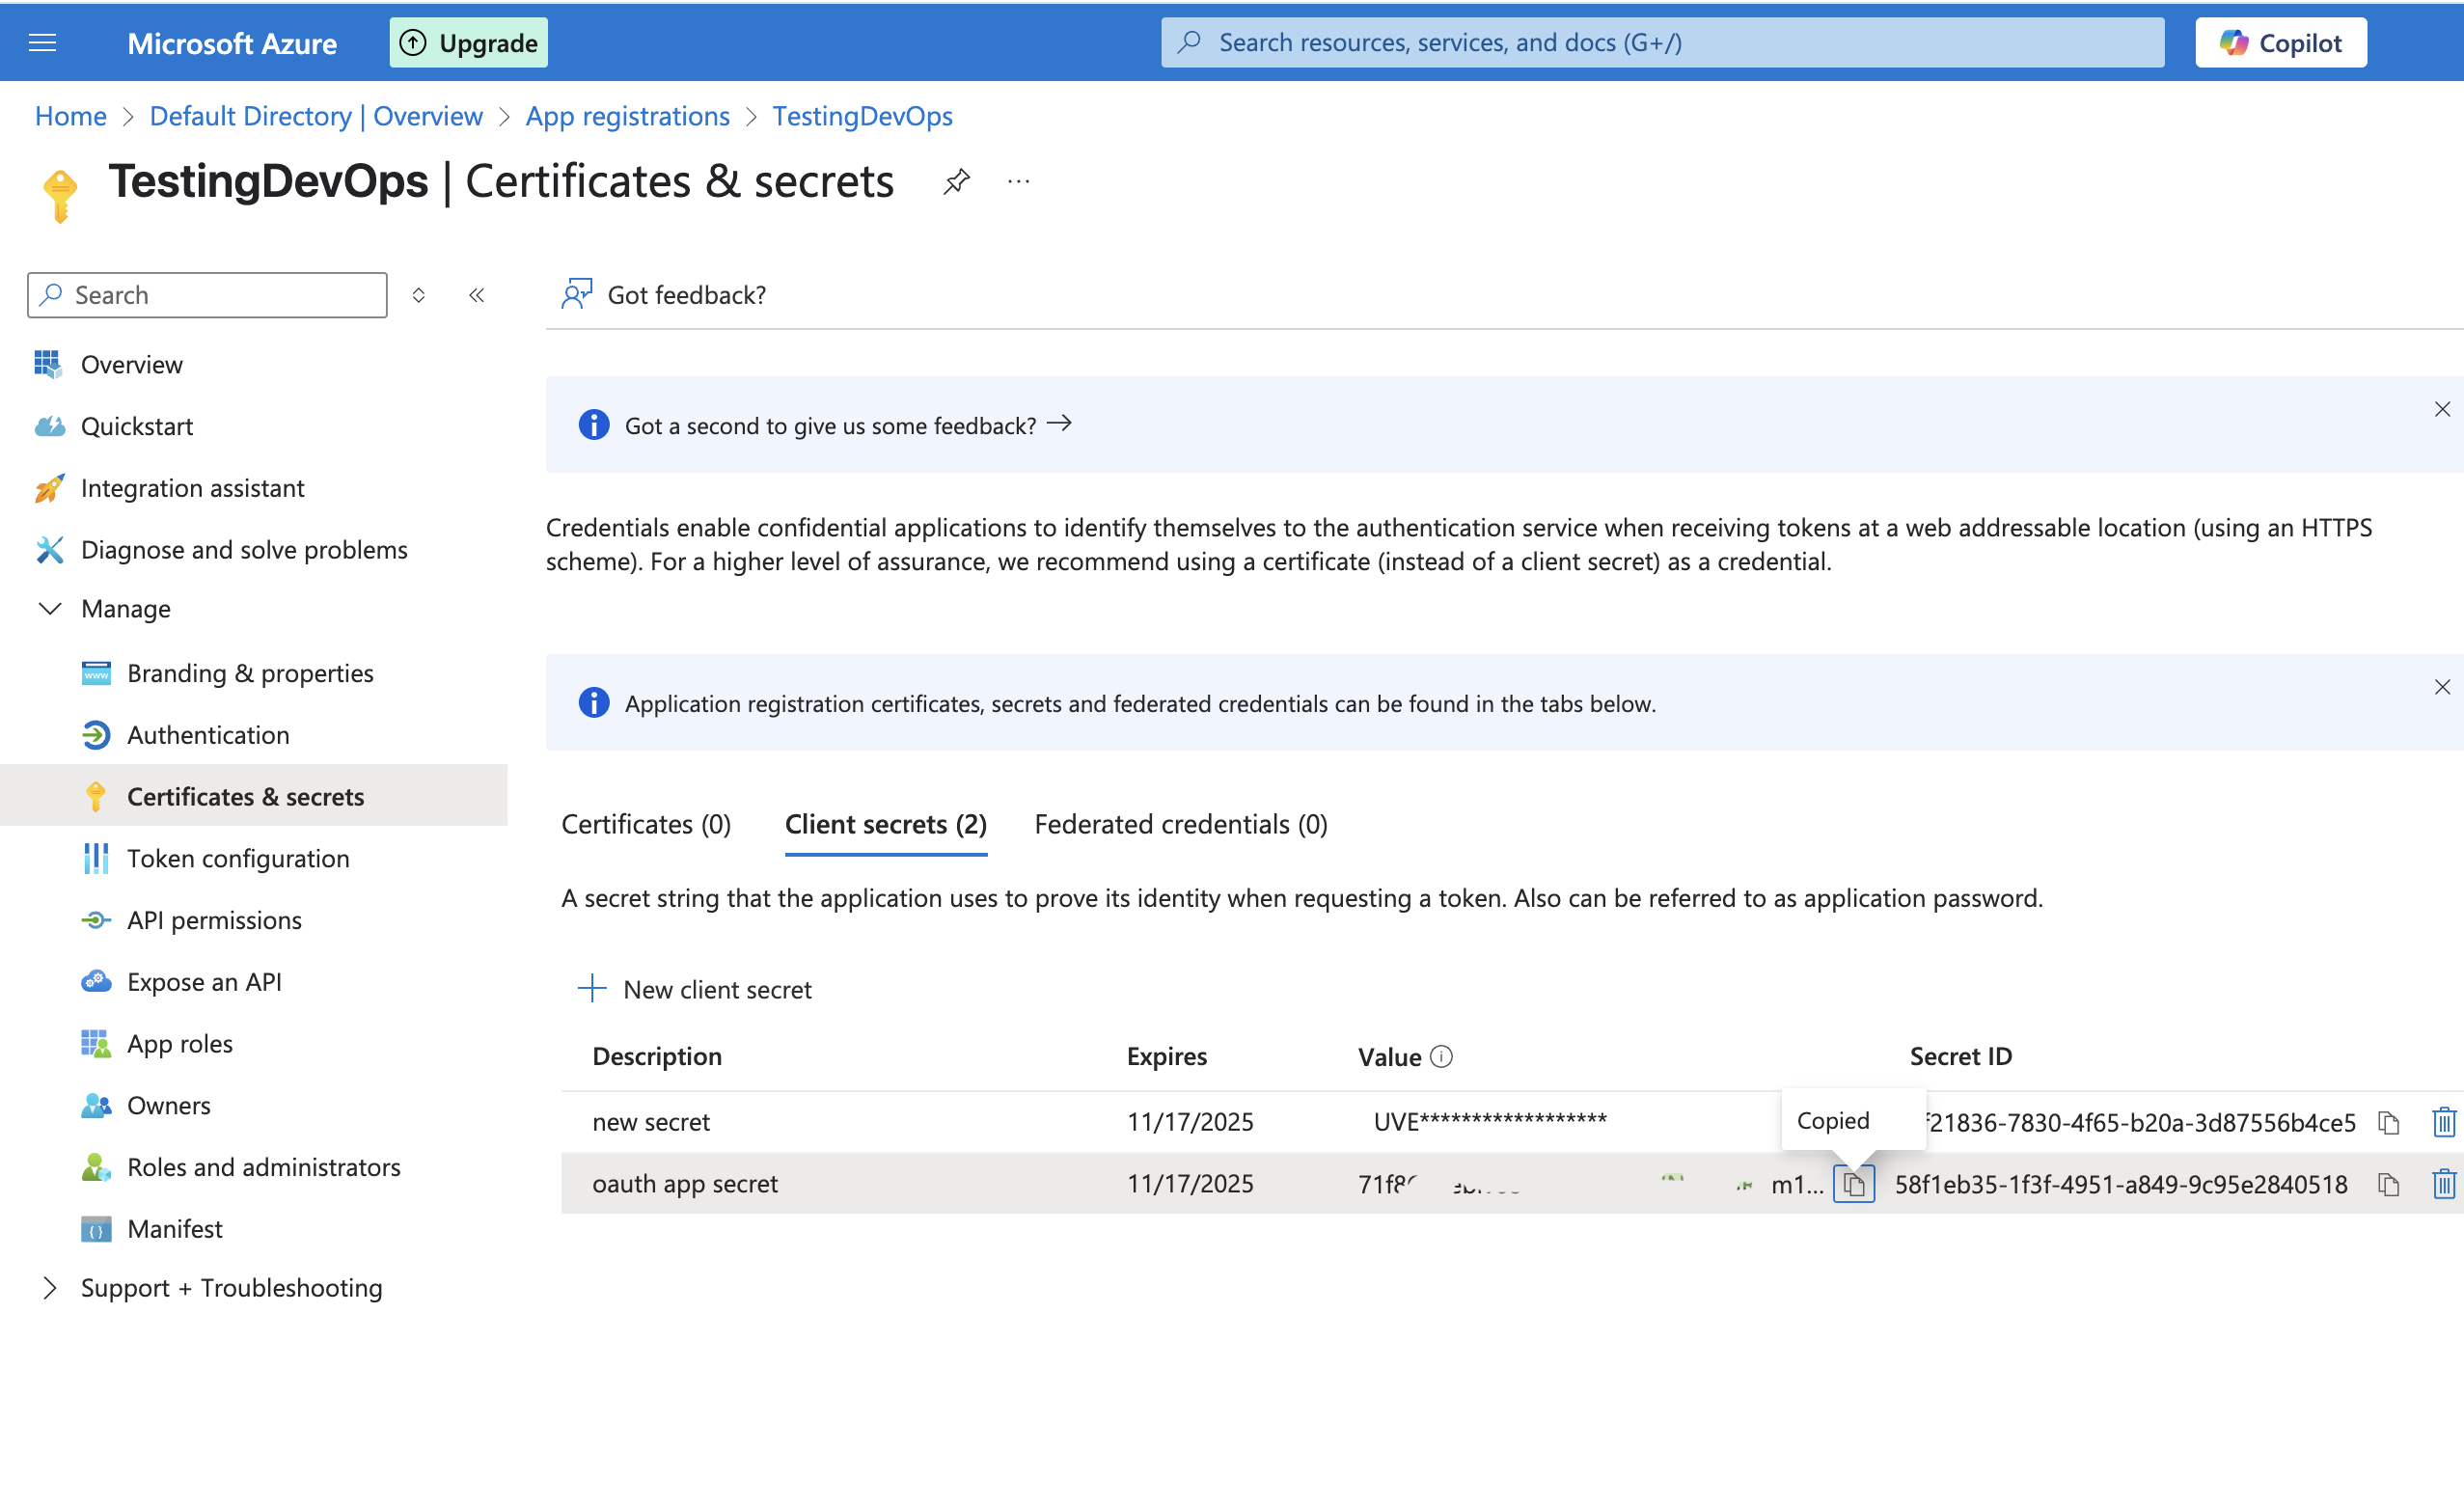
Create client secret
- Go to Manage > API permissions
- Click Add a permission and configure the following scopes:
openid- Required for OpenID Connect authenticationoffline_access- Needed for refresh tokens
vso.code- For read operations (repositories, commits, pull requests, refs, branches)vso.code_write- Required for commit and push operations
Prepare Azure DevOps for Entra ID Integration: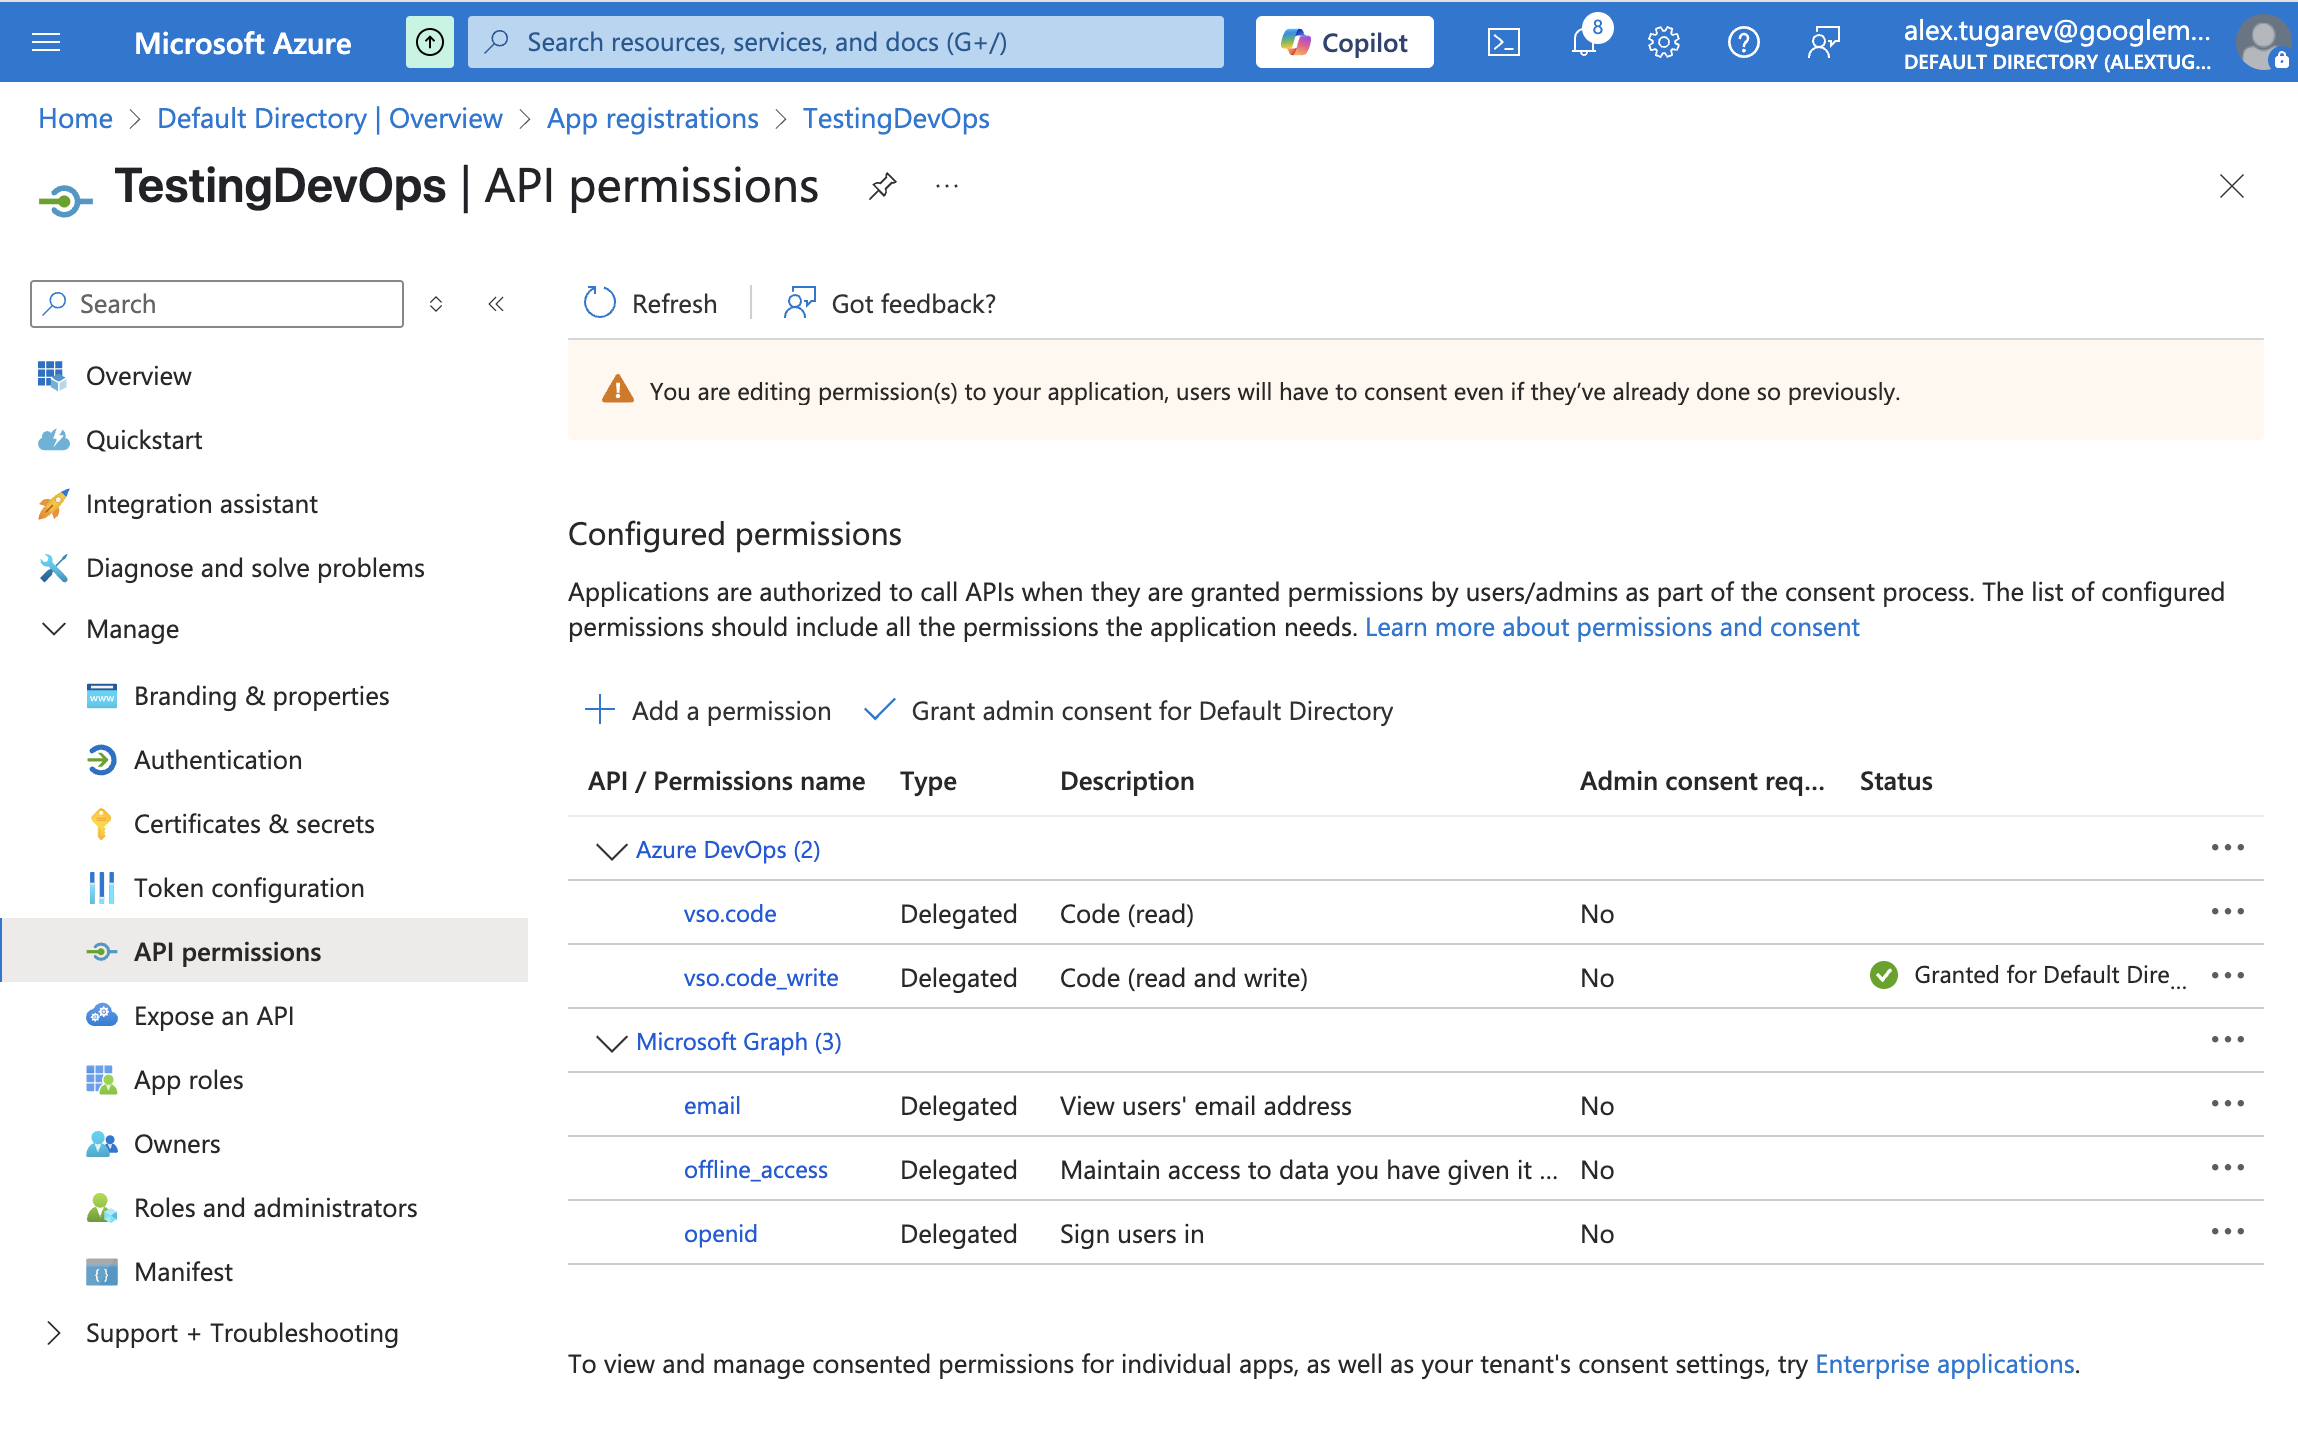
Configure API permissions
- In Azure DevOps, go to Organization Settings > Security > Policies
- Enable “Third-party application access via OAuth”
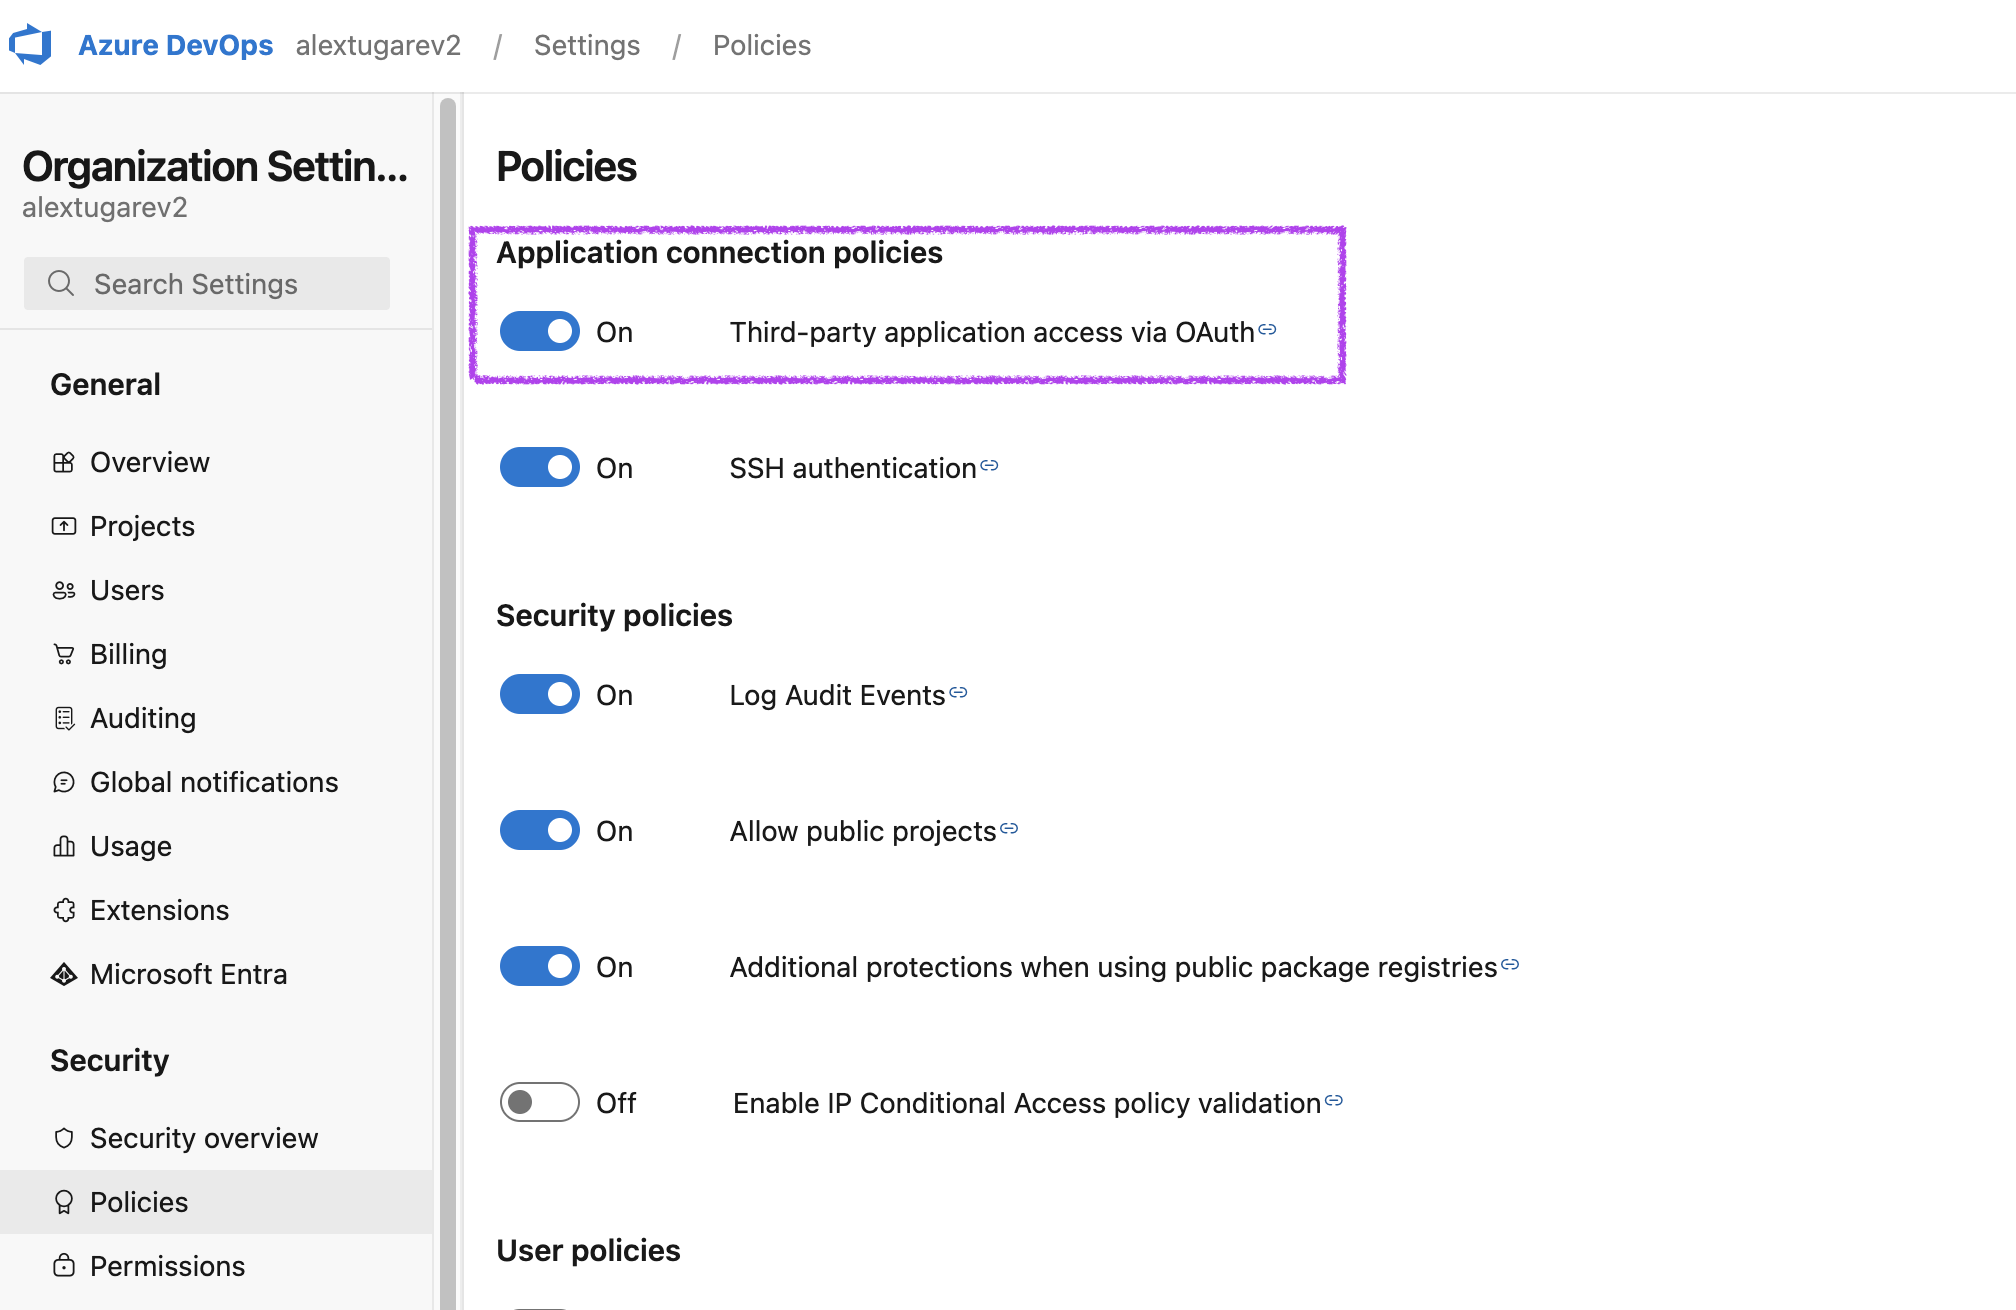
Enable third-party OAuth access in Azure DevOps
- Navigate to Organization Settings > General
- Connect your Microsoft Entra ID tenant
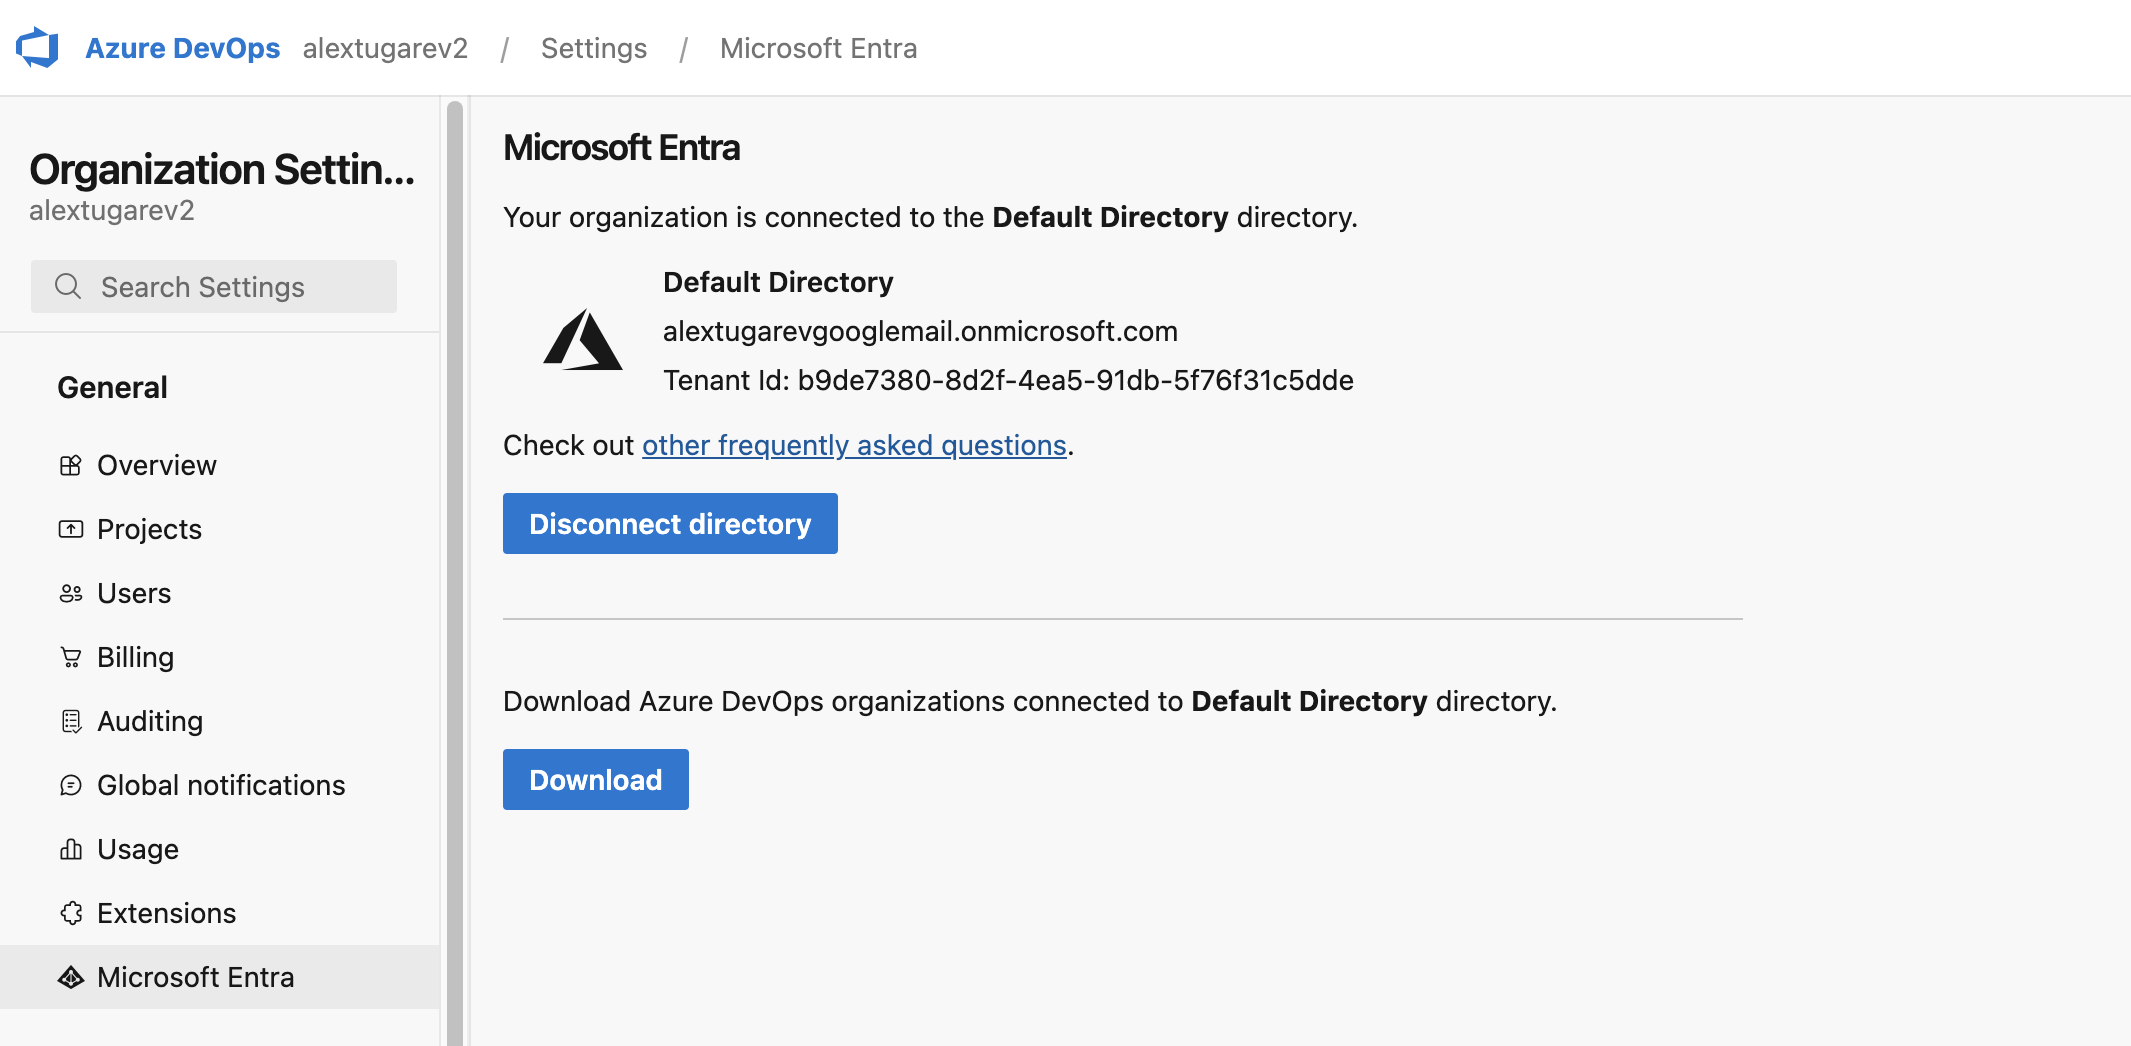
Connect Microsoft Entra ID in Azure DevOps
- Once you’ve created the OAuth app in Entra ID, provide the Issuer URL, Client ID, and Client Secret in the Gitpod. The client secret will be encrypted using the runner’s public key and stored securely, ensuring that only the designated runner can decrypt and access the sensitive credentials.
- Save your changes. This will also try to connect with Entra ID to verify the OAuth app.
Using Personal Access Tokens (PATs)
- Go to Settings > Runners and select the runner for which you want to configure the PAT.
- Navigate to the “Configure repository access” section and click “Add a new provider”.
Add new provider
- Select Azure DevOps from the list of providers.
- In the modal that opens, toggle “Enable Personal Access Token”.
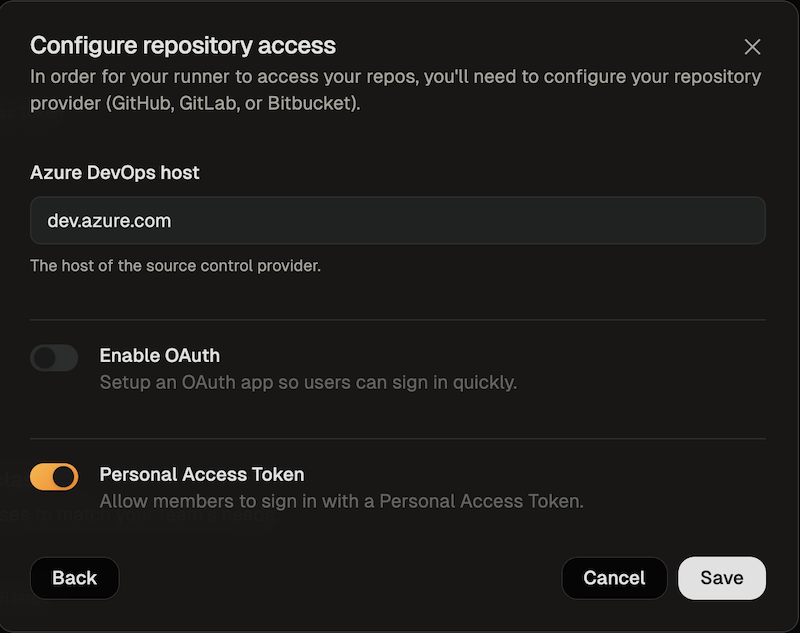
Enable Azure DevOps PAT
- Save your changes
Authorizing Azure DevOps Access
Using OAuth (Microsoft Entra ID)
-
When creating your first environment, you will be asked to authorize the new application. To use OAuth press the Connect button.
A new window will open that directs you to Microsoft Entra ID to authorize the OAuth app. The requested scopes are grouped as follows: Microsoft Graph (Authentication):
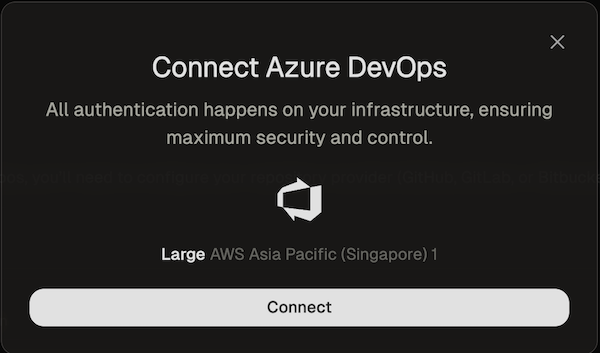
Connect Azure DevOps OAuth
openid- Required for OpenID Connect authenticationoffline_access- Needed for refresh tokens
vso.code- Required for read operations (parsing context URLs, cloning repositories, accessing commits, pull requests, refs, and branches)vso.code_write- Required for write operations (committing and pushing changes from your environment to the repository)
-
After you have authorized Gitpod, you can close the window. After a few seconds the you should get a confirmation that Azure DevOps (Entra ID) is now connected.

Connect Azure DevOps OAuth
Using Personal Access Tokens (PATs)
-
When creating your first environment, you will be asked to authorize the new application. Select Provide a Personal Access Token.
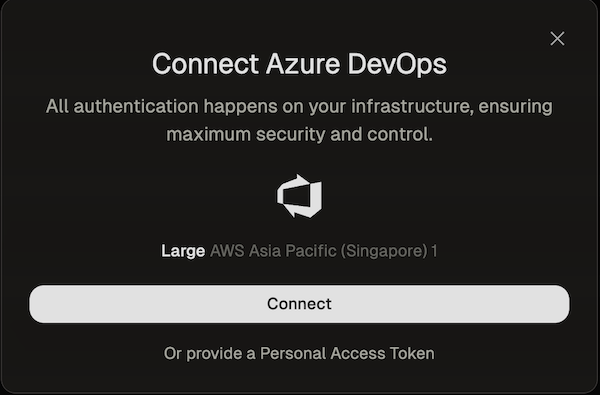
Connect Azure DevOps PAT
- Follow the instructions of the Azure documentation to create a PAT
- The name of the token and all required scopes are pre-set.
- By default, the token is valid for 30 days, but you can change the duration if needed.
-
After creating the token, return to the dialog and paste the token.
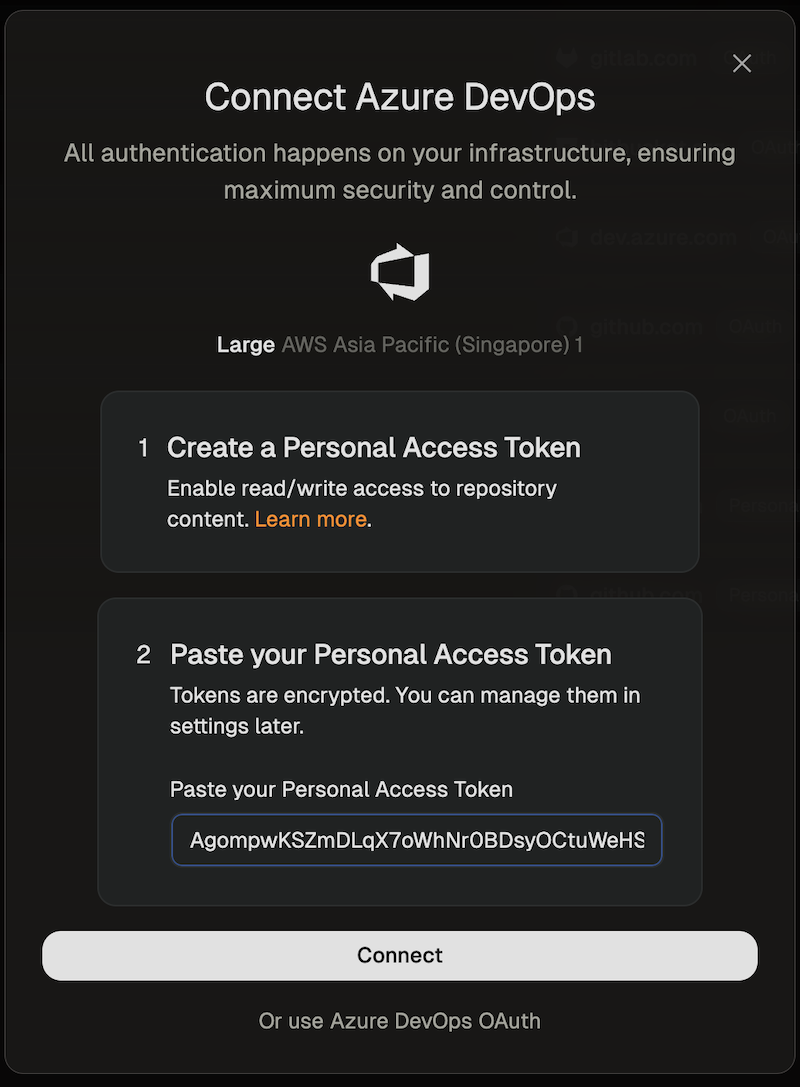
Set Azure DevOps PAT
- The environment will now be created using the provided token.