Introduction
Overview
Looking for Gitpod Classic documentation? Take me there
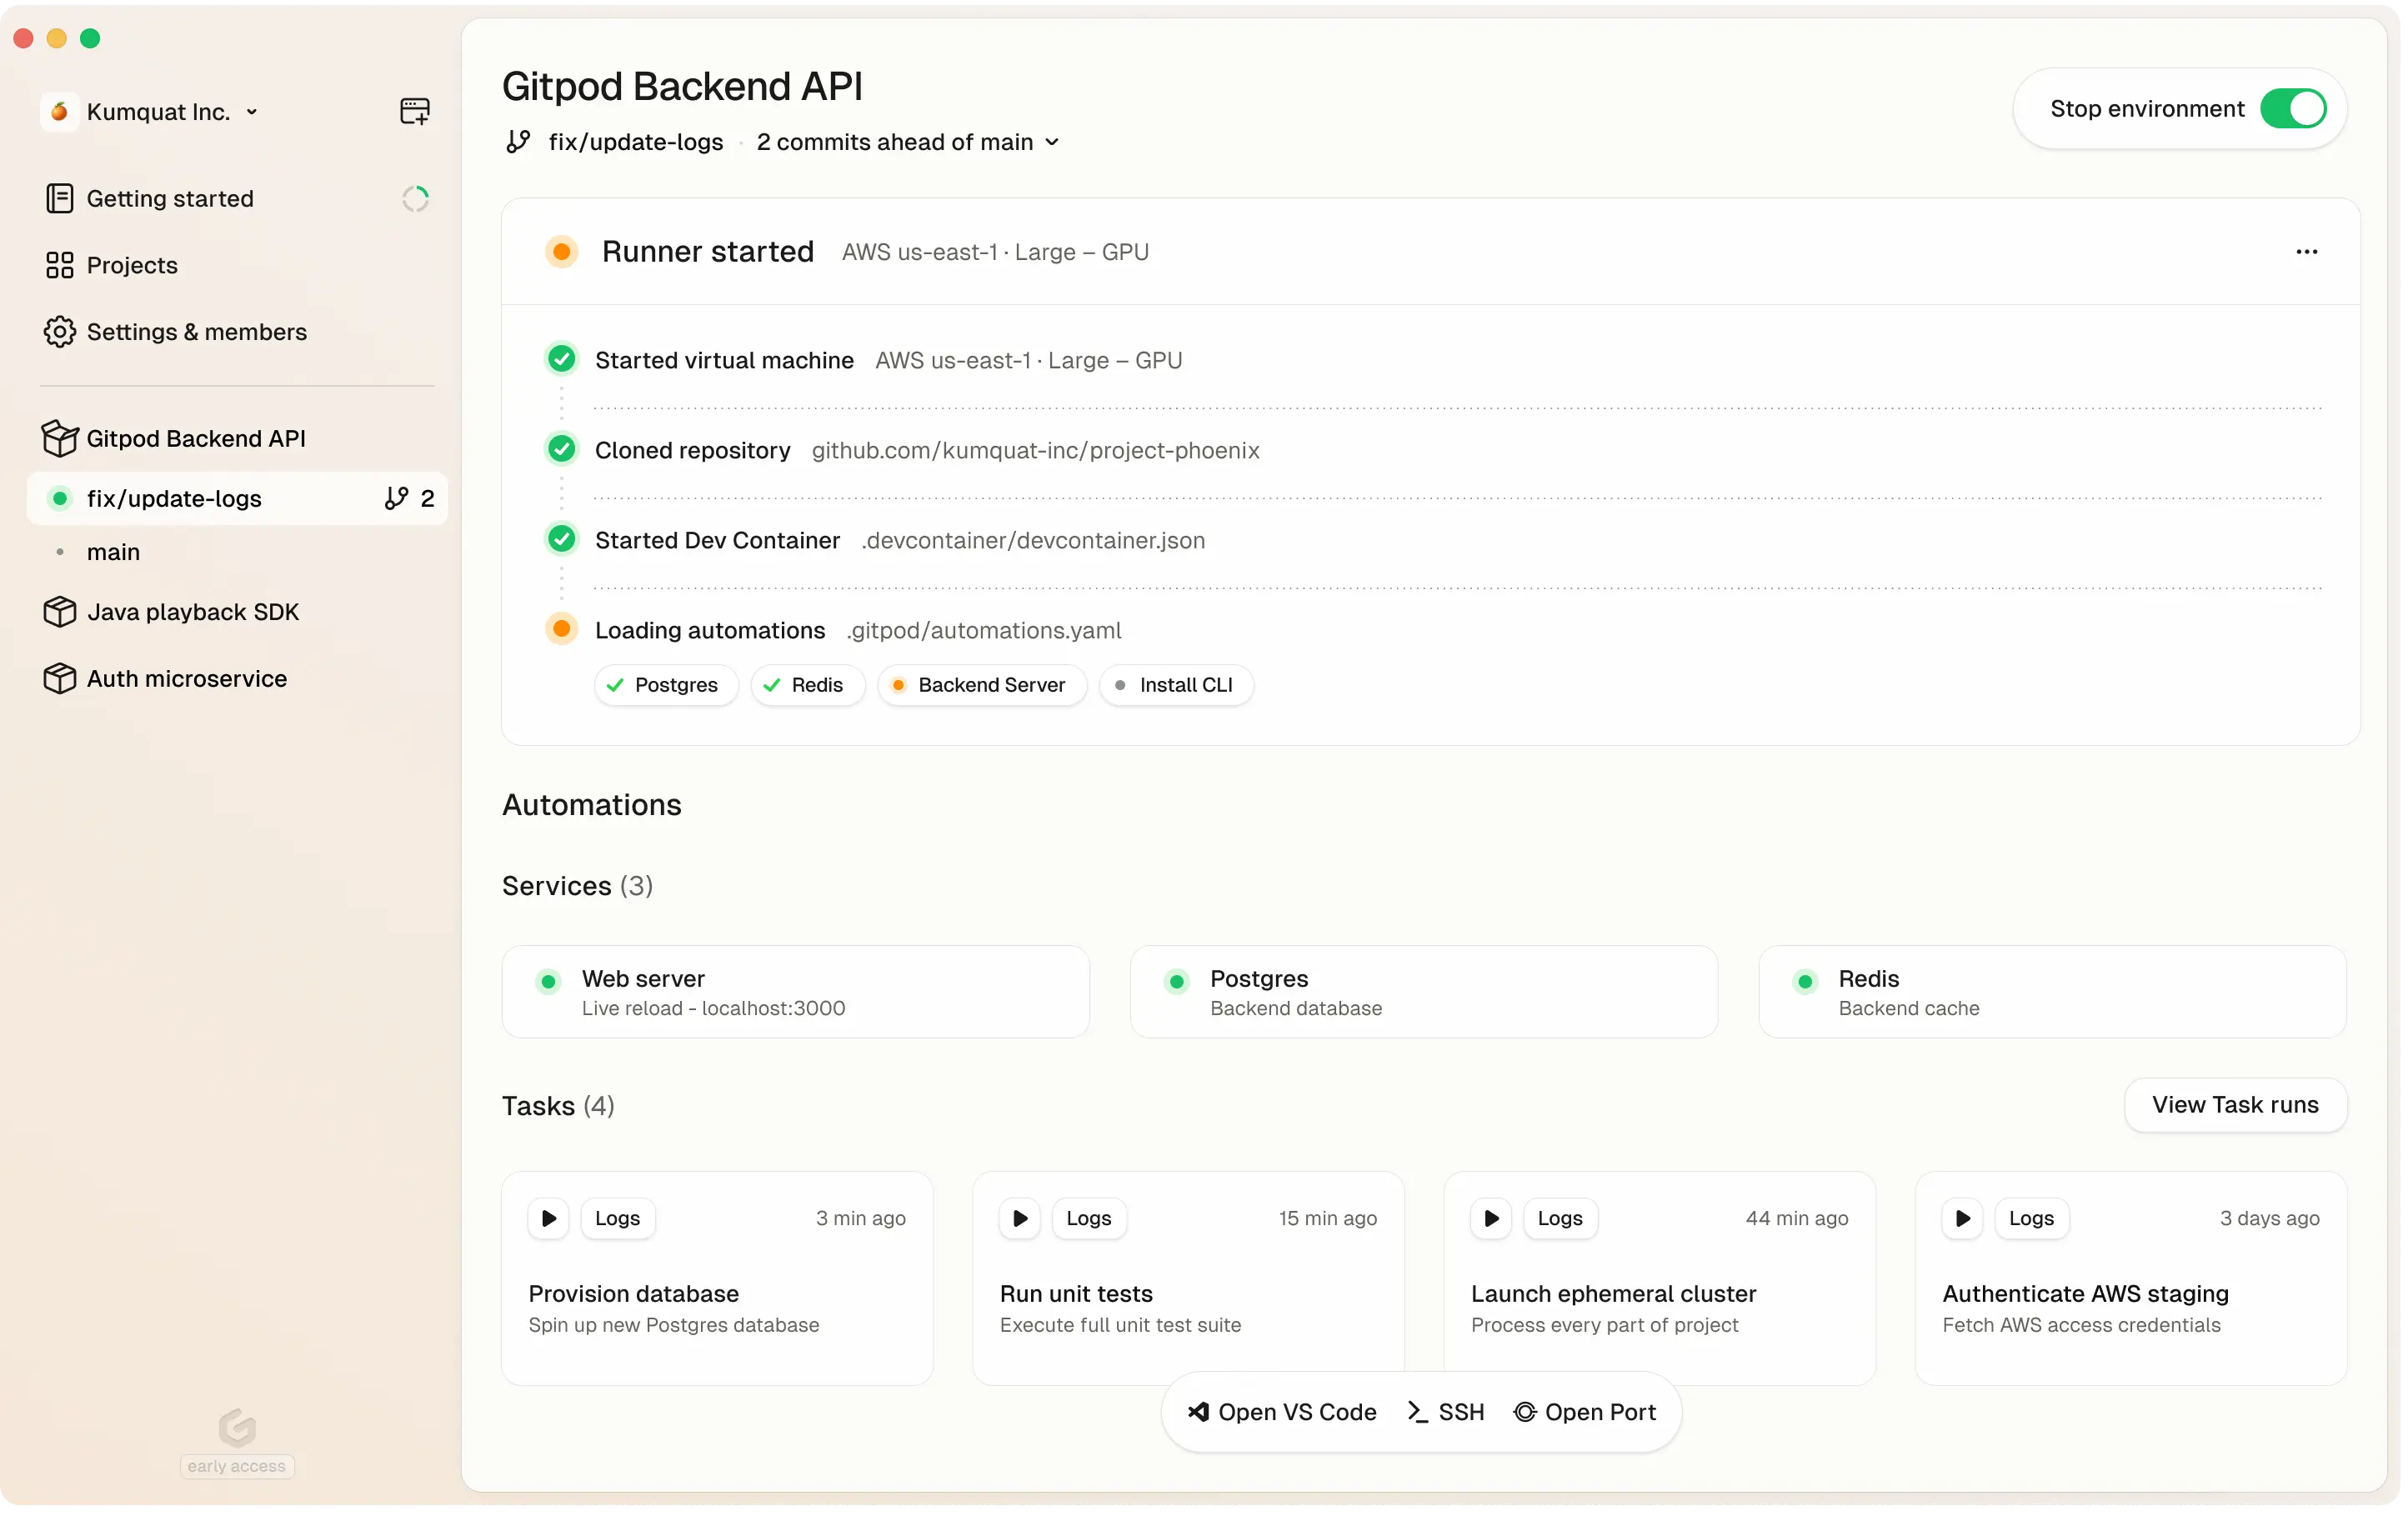
Gitpod dashboard
What is Gitpod?
Gitpod is a zero-trust platform that provides automated and standardized development environments in your own infrastructure—whether on your local machine, in your cloud account (VPC), or on-prem. It streamlines coding workflows and boosts collaboration by letting teams spin up secure, preconfigured dev environments quickly and consistently.
High-Level Overview
- Run in Your Cloud or VPC: Deploy Gitpod in your preferred environment — AWS, on-prem servers, or via a local desktop app.
- Consistent Environments: Use Dev Containers to ensure every environment has the same dependencies, tools, and configurations.
- Automations: Automate tasks like DB seeding, environment setup, or testing.
- Zero-Trust Architecture: Keep code and secrets in your cloud; you control access.
- Scalable: Expand across multiple infrastructure footprints or keep it lightweight for smaller teams.
Key Benefits for CTOs & Engineering Leaders
-
Security & Compliance
- Gitpod cannot access your source code or credentials, they all remain private and under your control.
- Centralized security policies, single sign-on, and advanced compliance.
- Full audit logs to track environment and user actions.
-
Flexible Cost & Infrastructure
- Host dev environments where it makes sense—in your private VPC, existing cloud accounts, or local resources.
- Seat-based pricing for predictable budgeting, plus the option to use your own infrastructure investments.
-
Accelerated Onboarding & Collaboration
- New devs can start coding in minutes—no manual install or environment setup.
- Shared, prebuilt project configurations eliminate “works on my machine” issues.
- Multiple dev environments can run side by side for different tasks.
Key Benefits for Developers & Engineers
-
Instant, Ready-to-Code Environments
- Dev Containers handle language runtimes and build tools automatically.
- Automations run tasks (build, test, seed DB) on environment startup.
-
Code From Anywhere
- Launch an environment on your laptop, or in your VPC with powerful cloud servers.
- Switch seamlessly between local resources and your organization’s infrastructure.
-
Reduced Context Switching
- Keep separate environments for each feature branch or bug fix.
- Easily revert to a clean environment without reinstalling dependencies.