Standard AWS Runner
Setup
Deploy your Standard AWS Runner using our CloudFormation template. This guide covers the step-by-step process to get your Runner up and running.
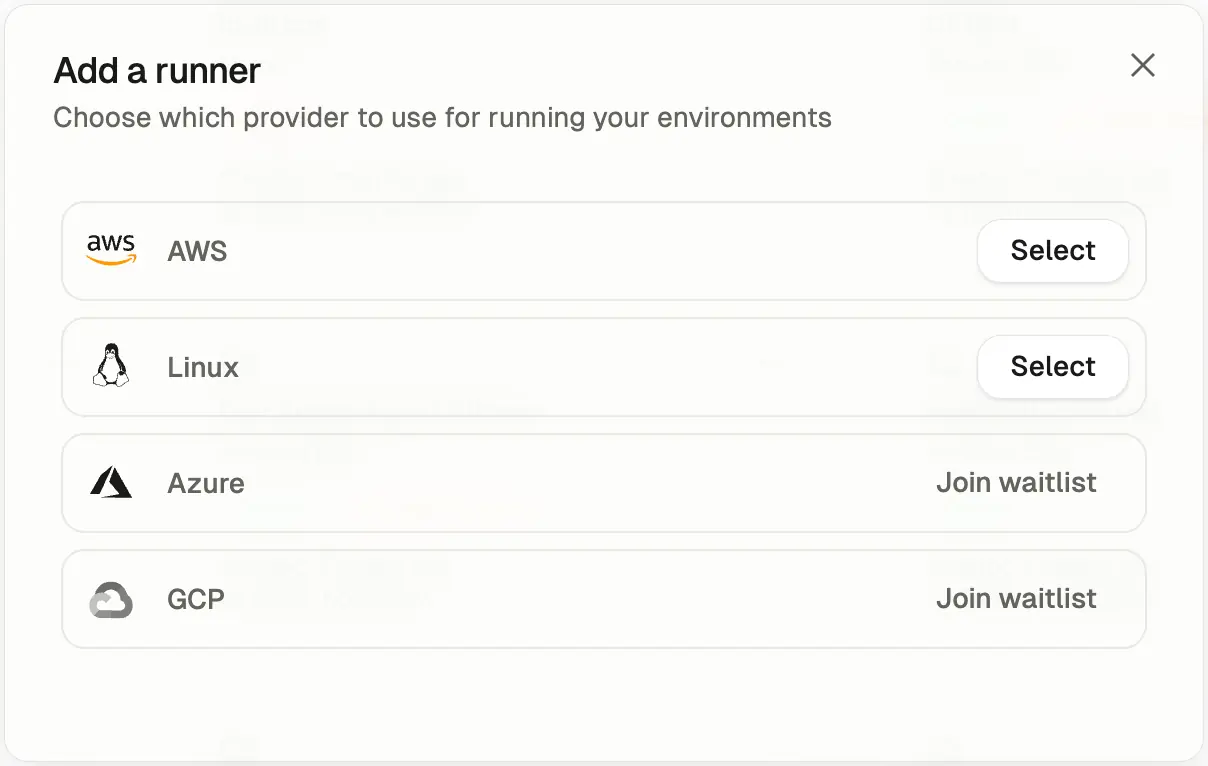
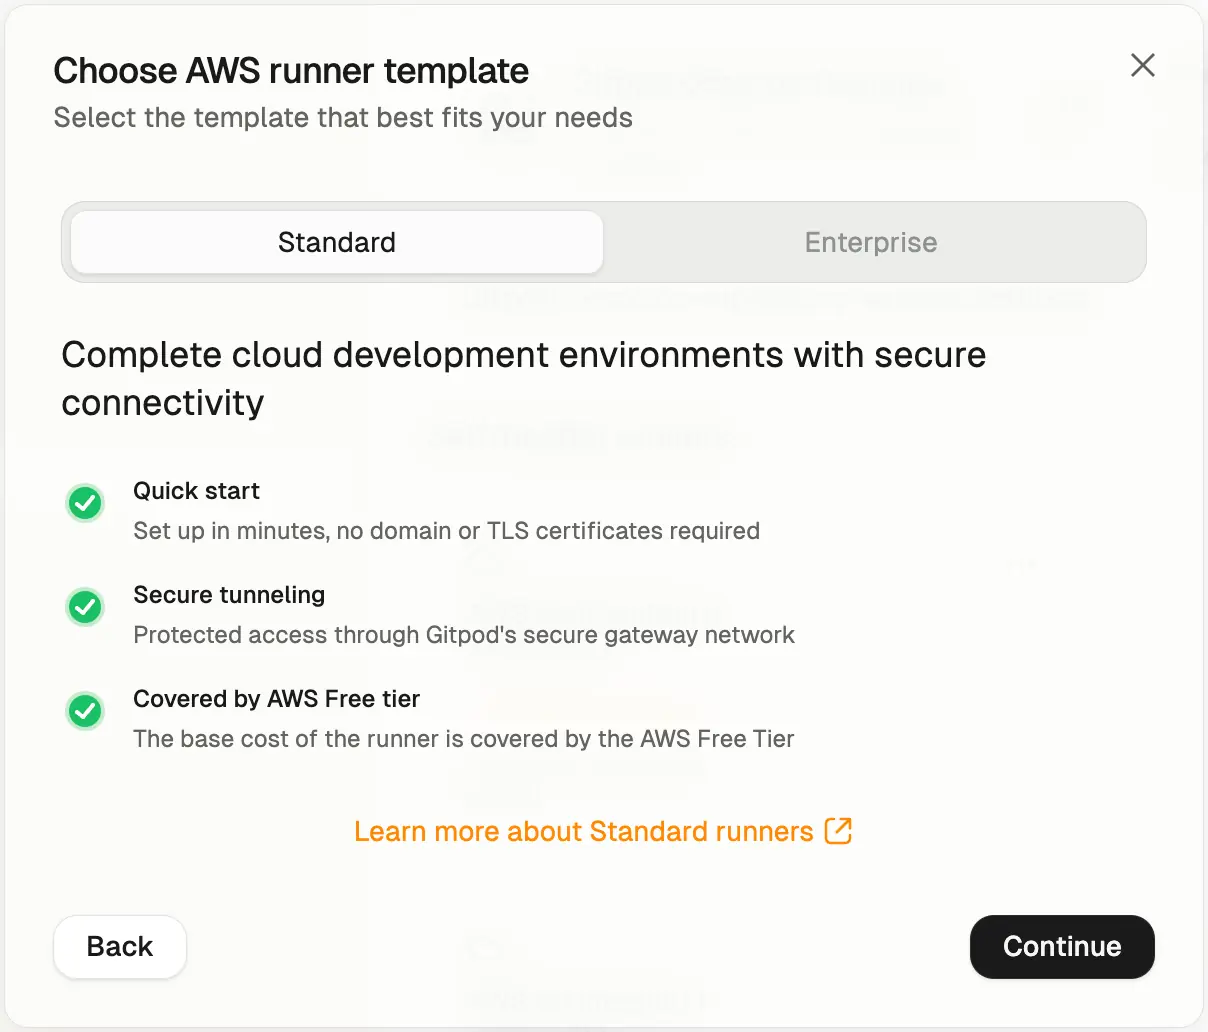
 After choosing AWS from the list of available providers, continue with the Standard Runner template. If you’re looking to set up a more advanced Runner with custom ingress capabilities, consider deploying an Enterprise Runner.
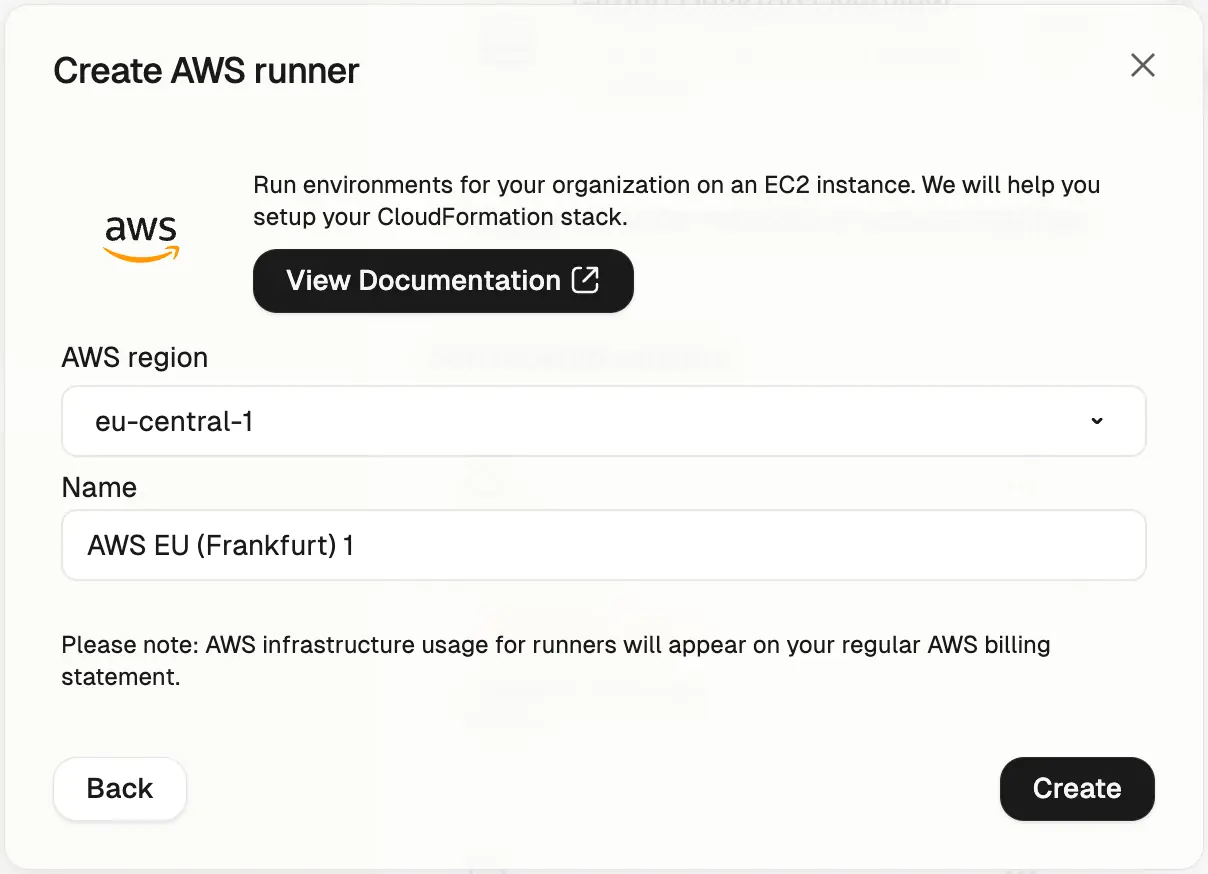
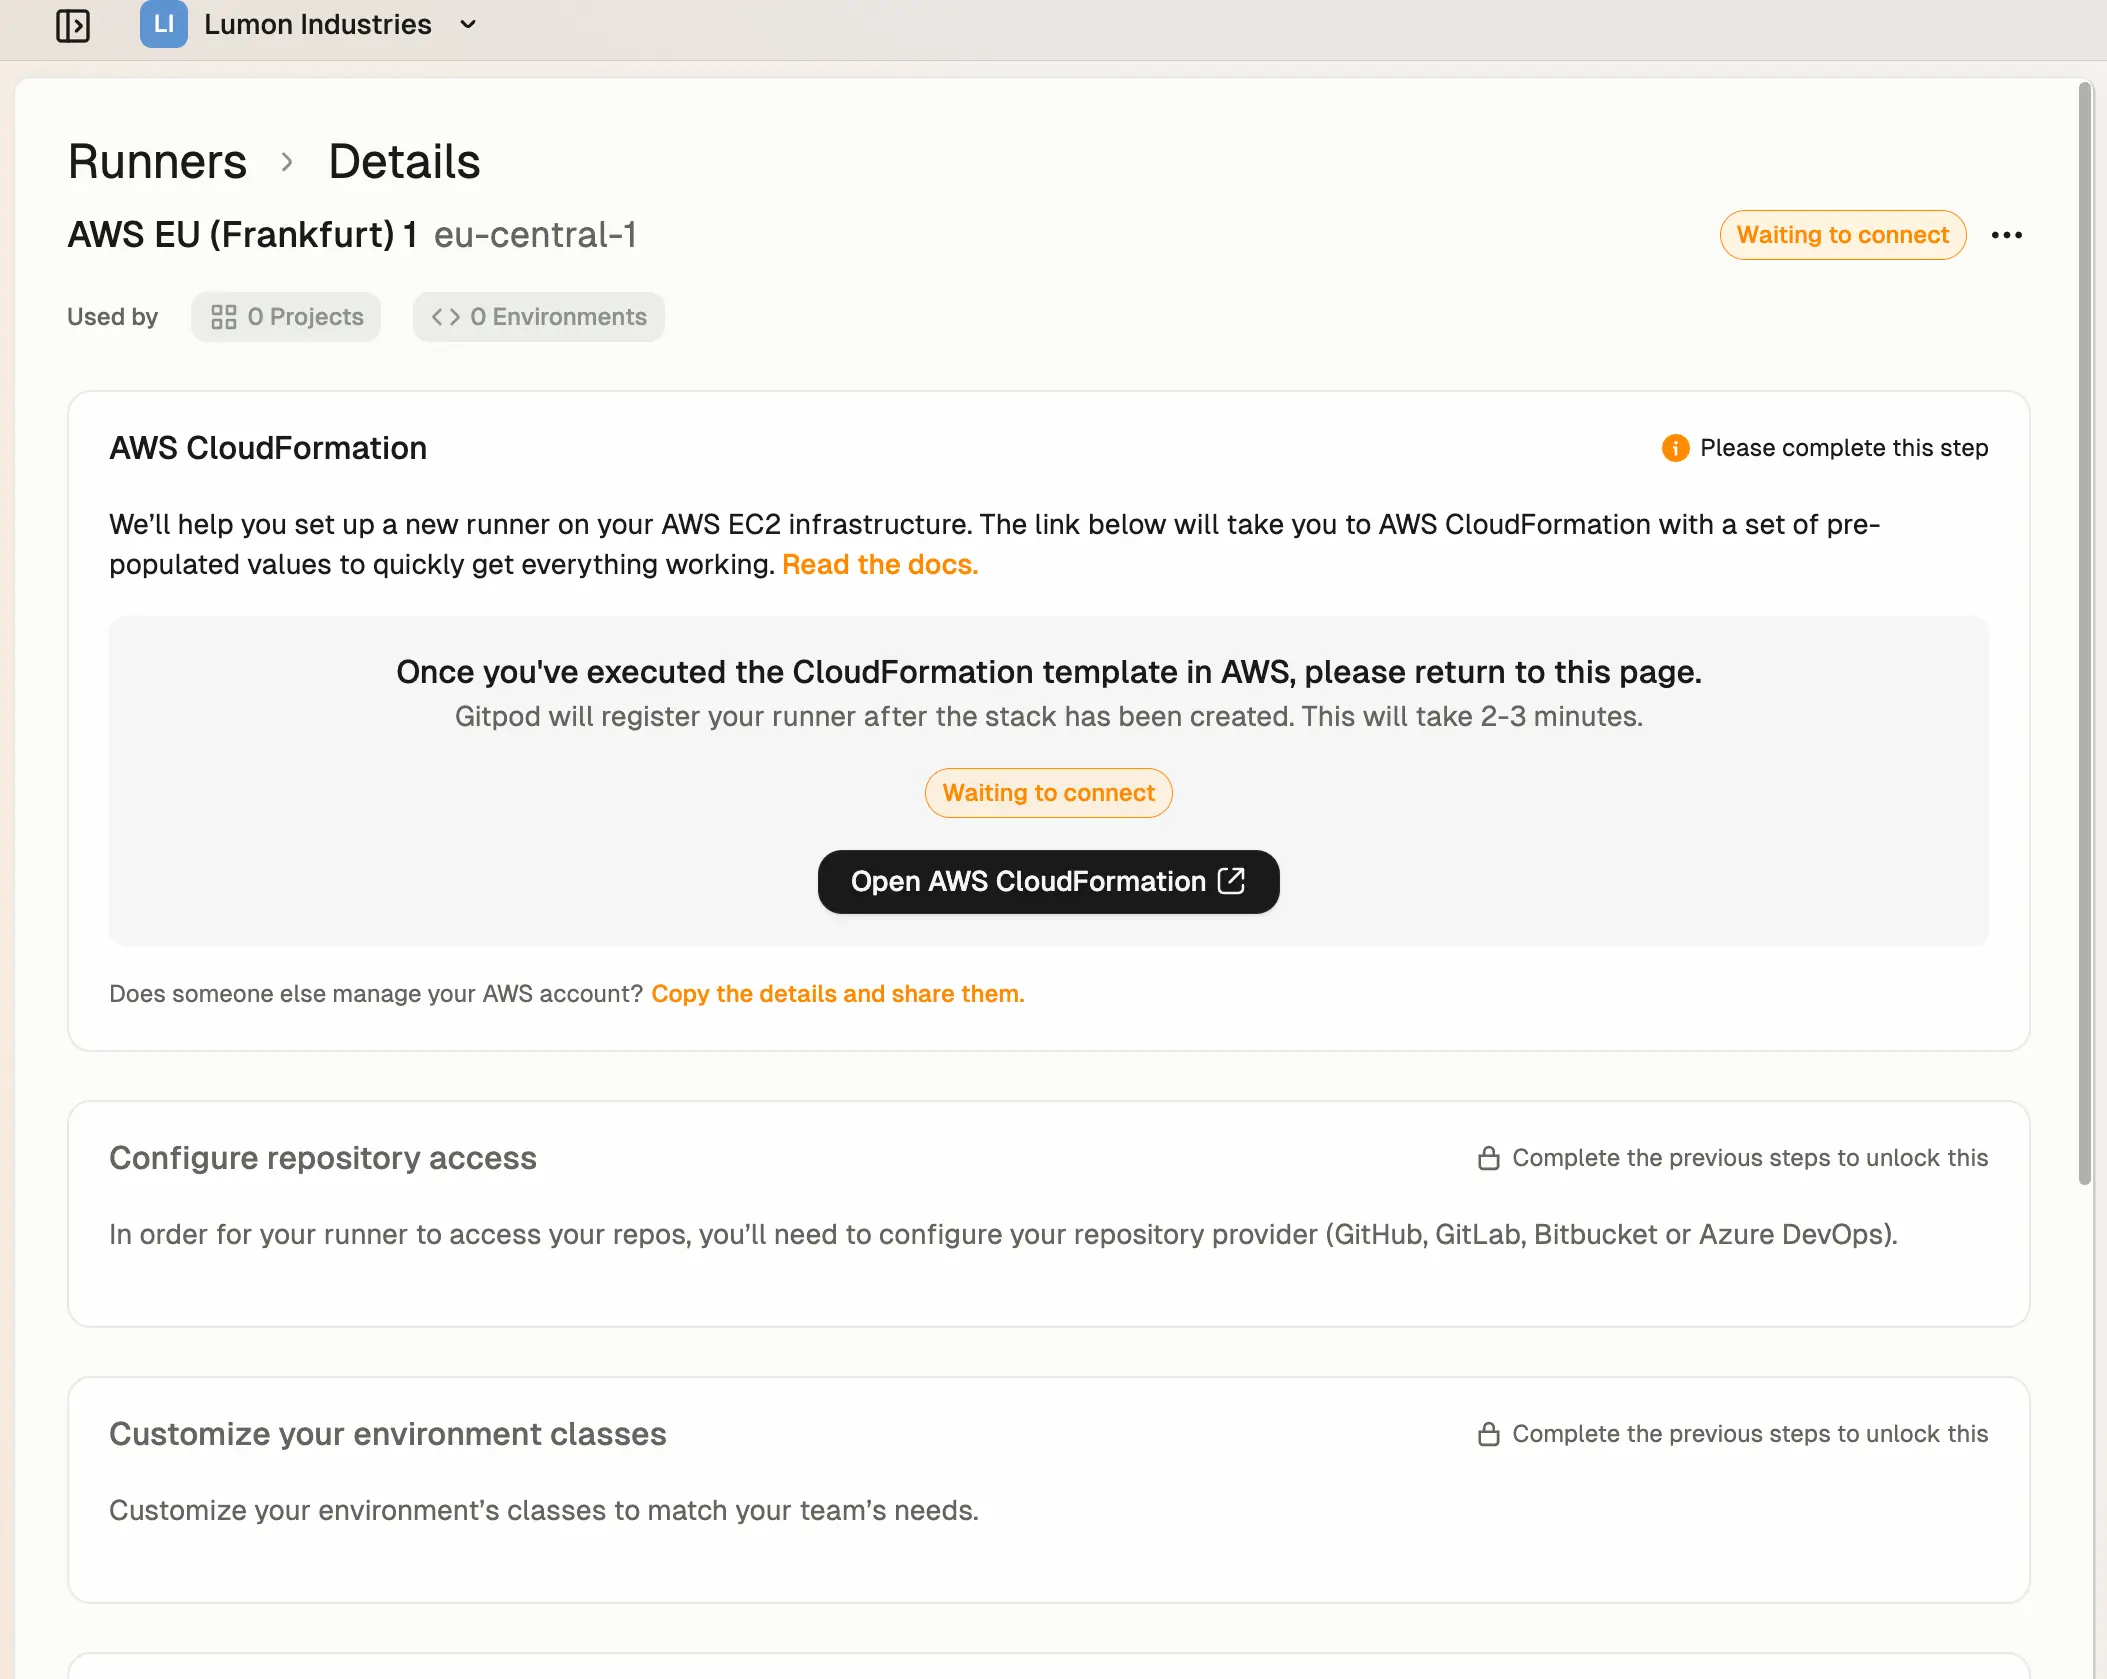
 Choose a name and select the AWS region to deploy the Runner into, then press Create. This creates the Runner reference in Gitpod. You will now need to run the CloudFormation stack to fully deploy your Runner.
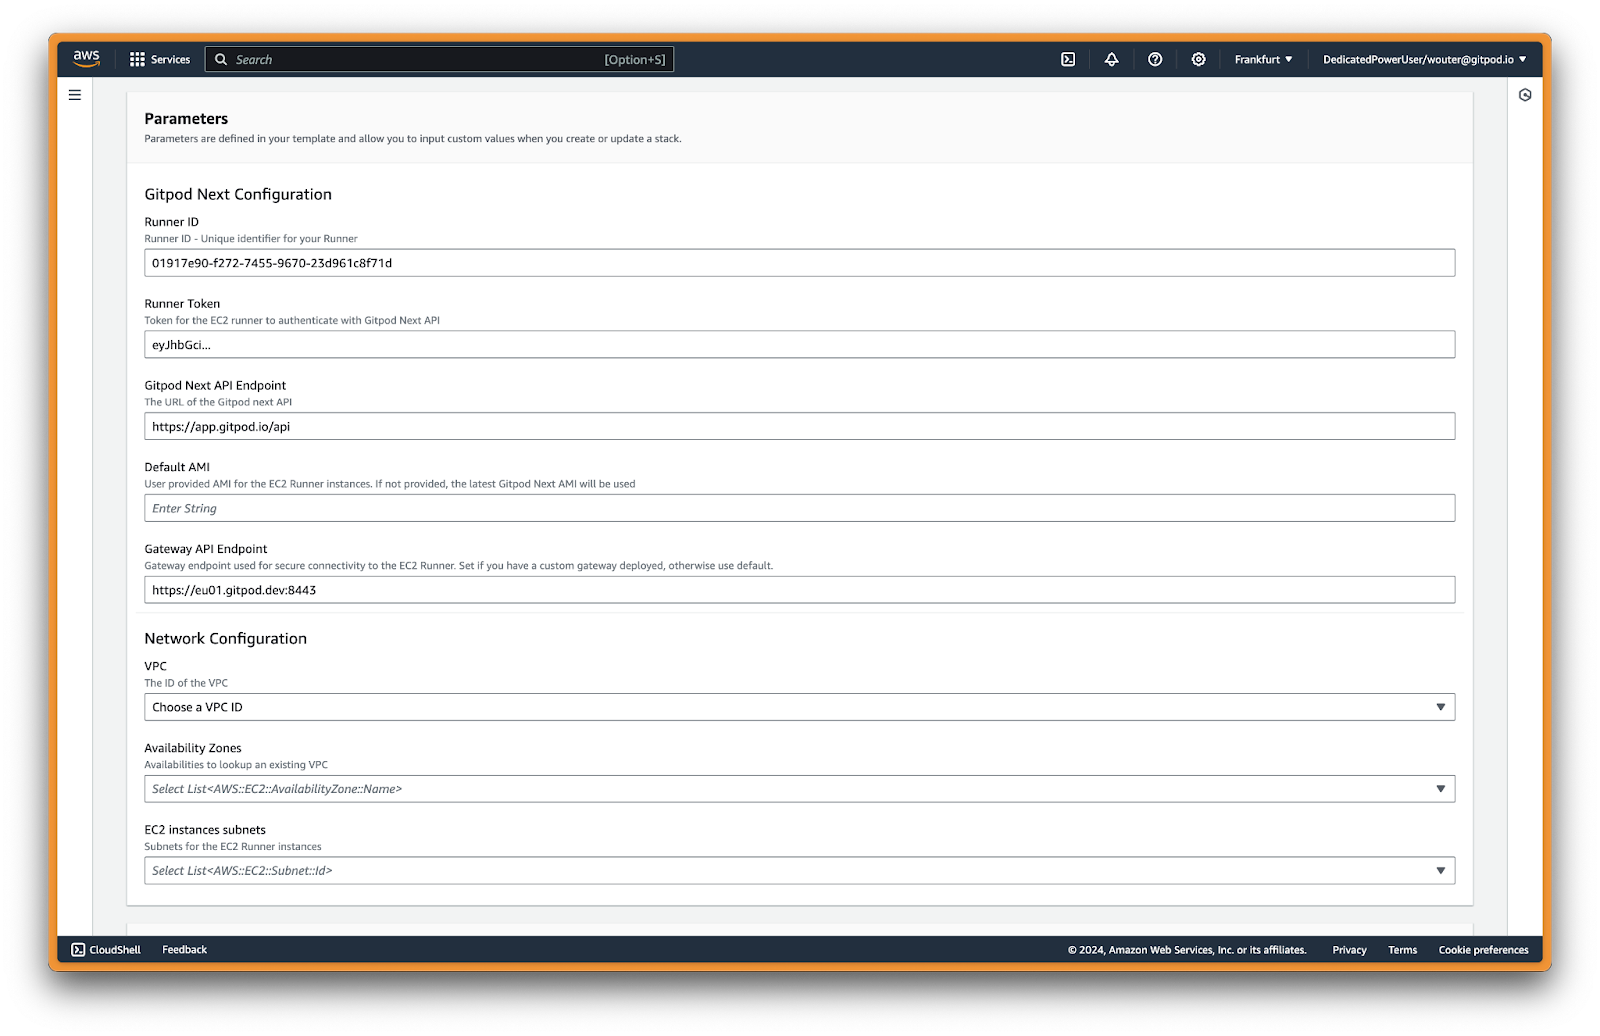
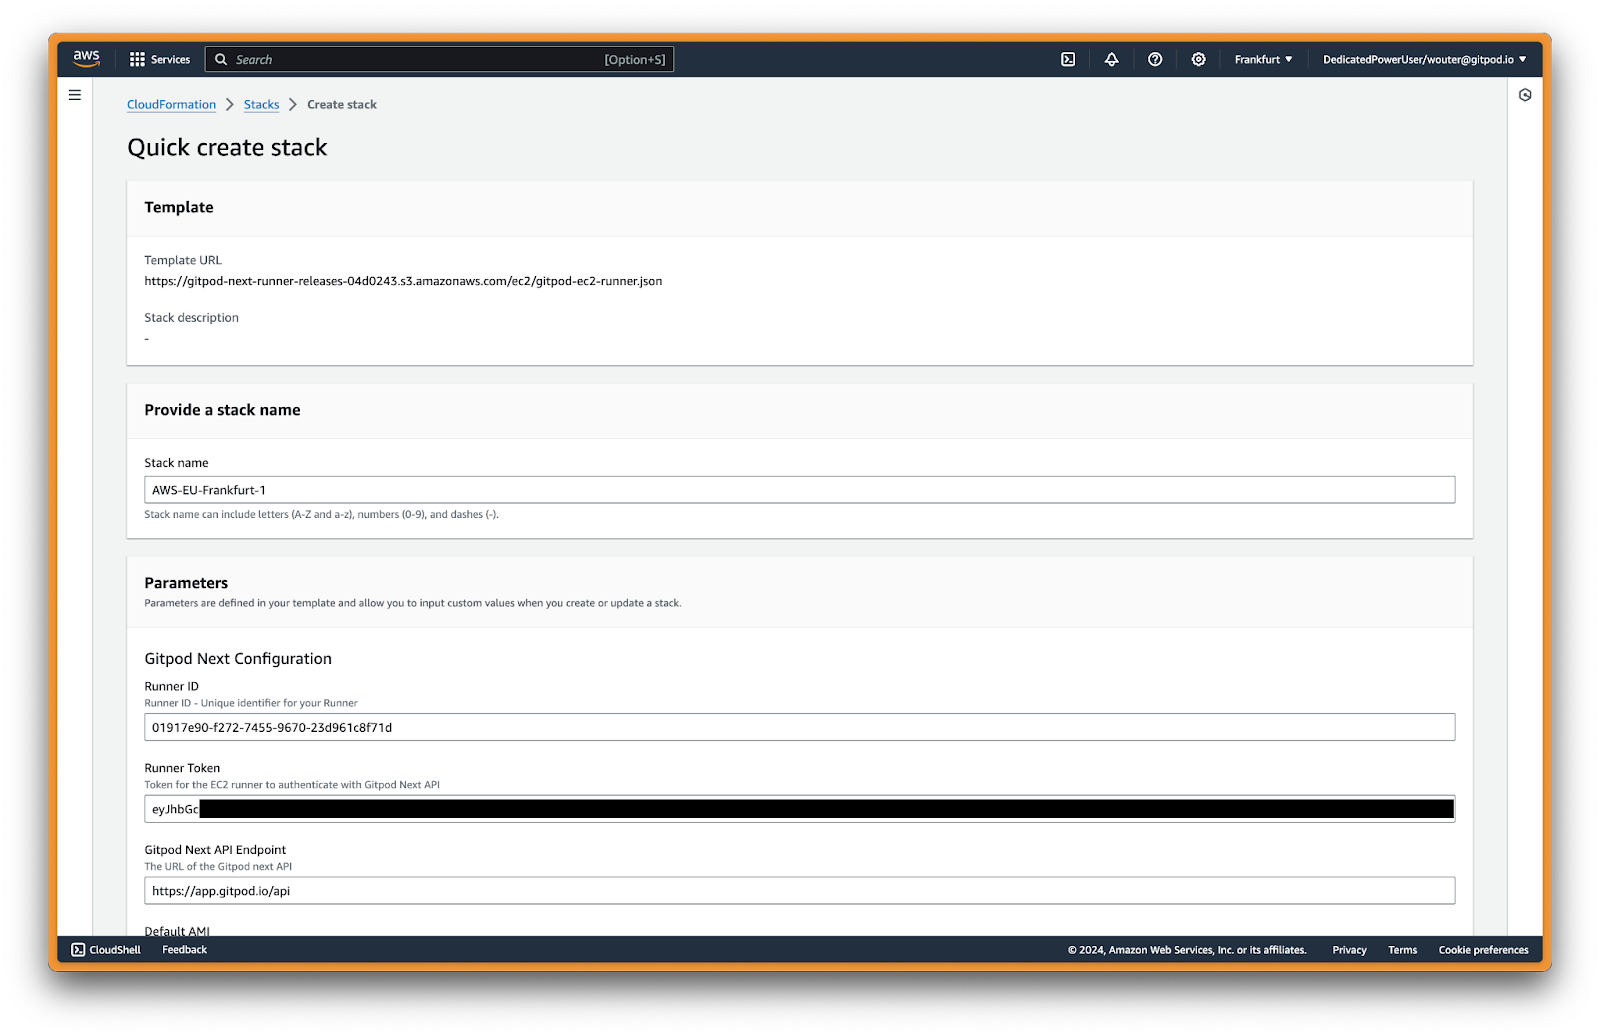 Most parameters are auto-filled already. For Network Configuration, choose a VPC (e.g. the default VPC) and one or more Availability Zones and subnets. The Runner will create Environments in the selected network configuration values.
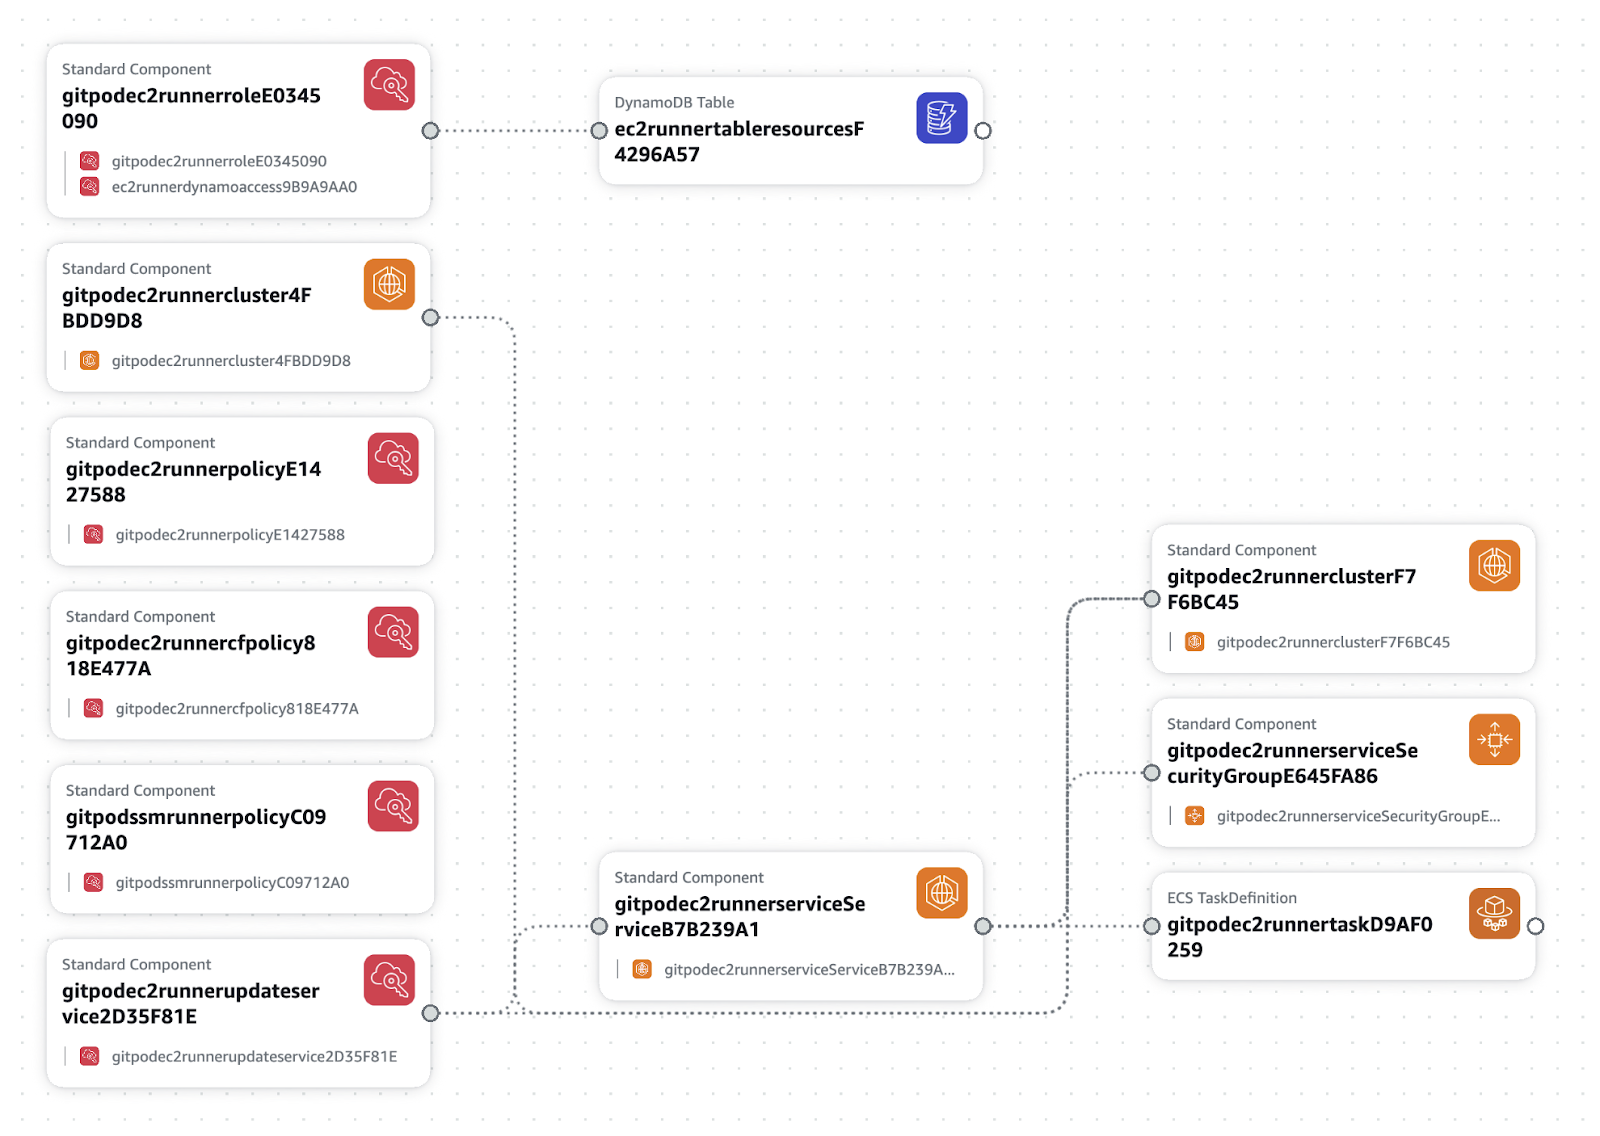
 When done with configuring the stack parameters, press Create stack. The stack is relatively simple and includes e.g. an ECS service and DynamoDB.

 Wait until the Stack is deployed successfully, and return to Gitpod Desktop.
Once deployed you should see a screen like this:

Prerequisites
- Admin access to the Gitpod organization
- AWS account with networking configured (see Overview for prerequisites)
- Permissions to deploy the CloudFormation stack
Create AWS Runner
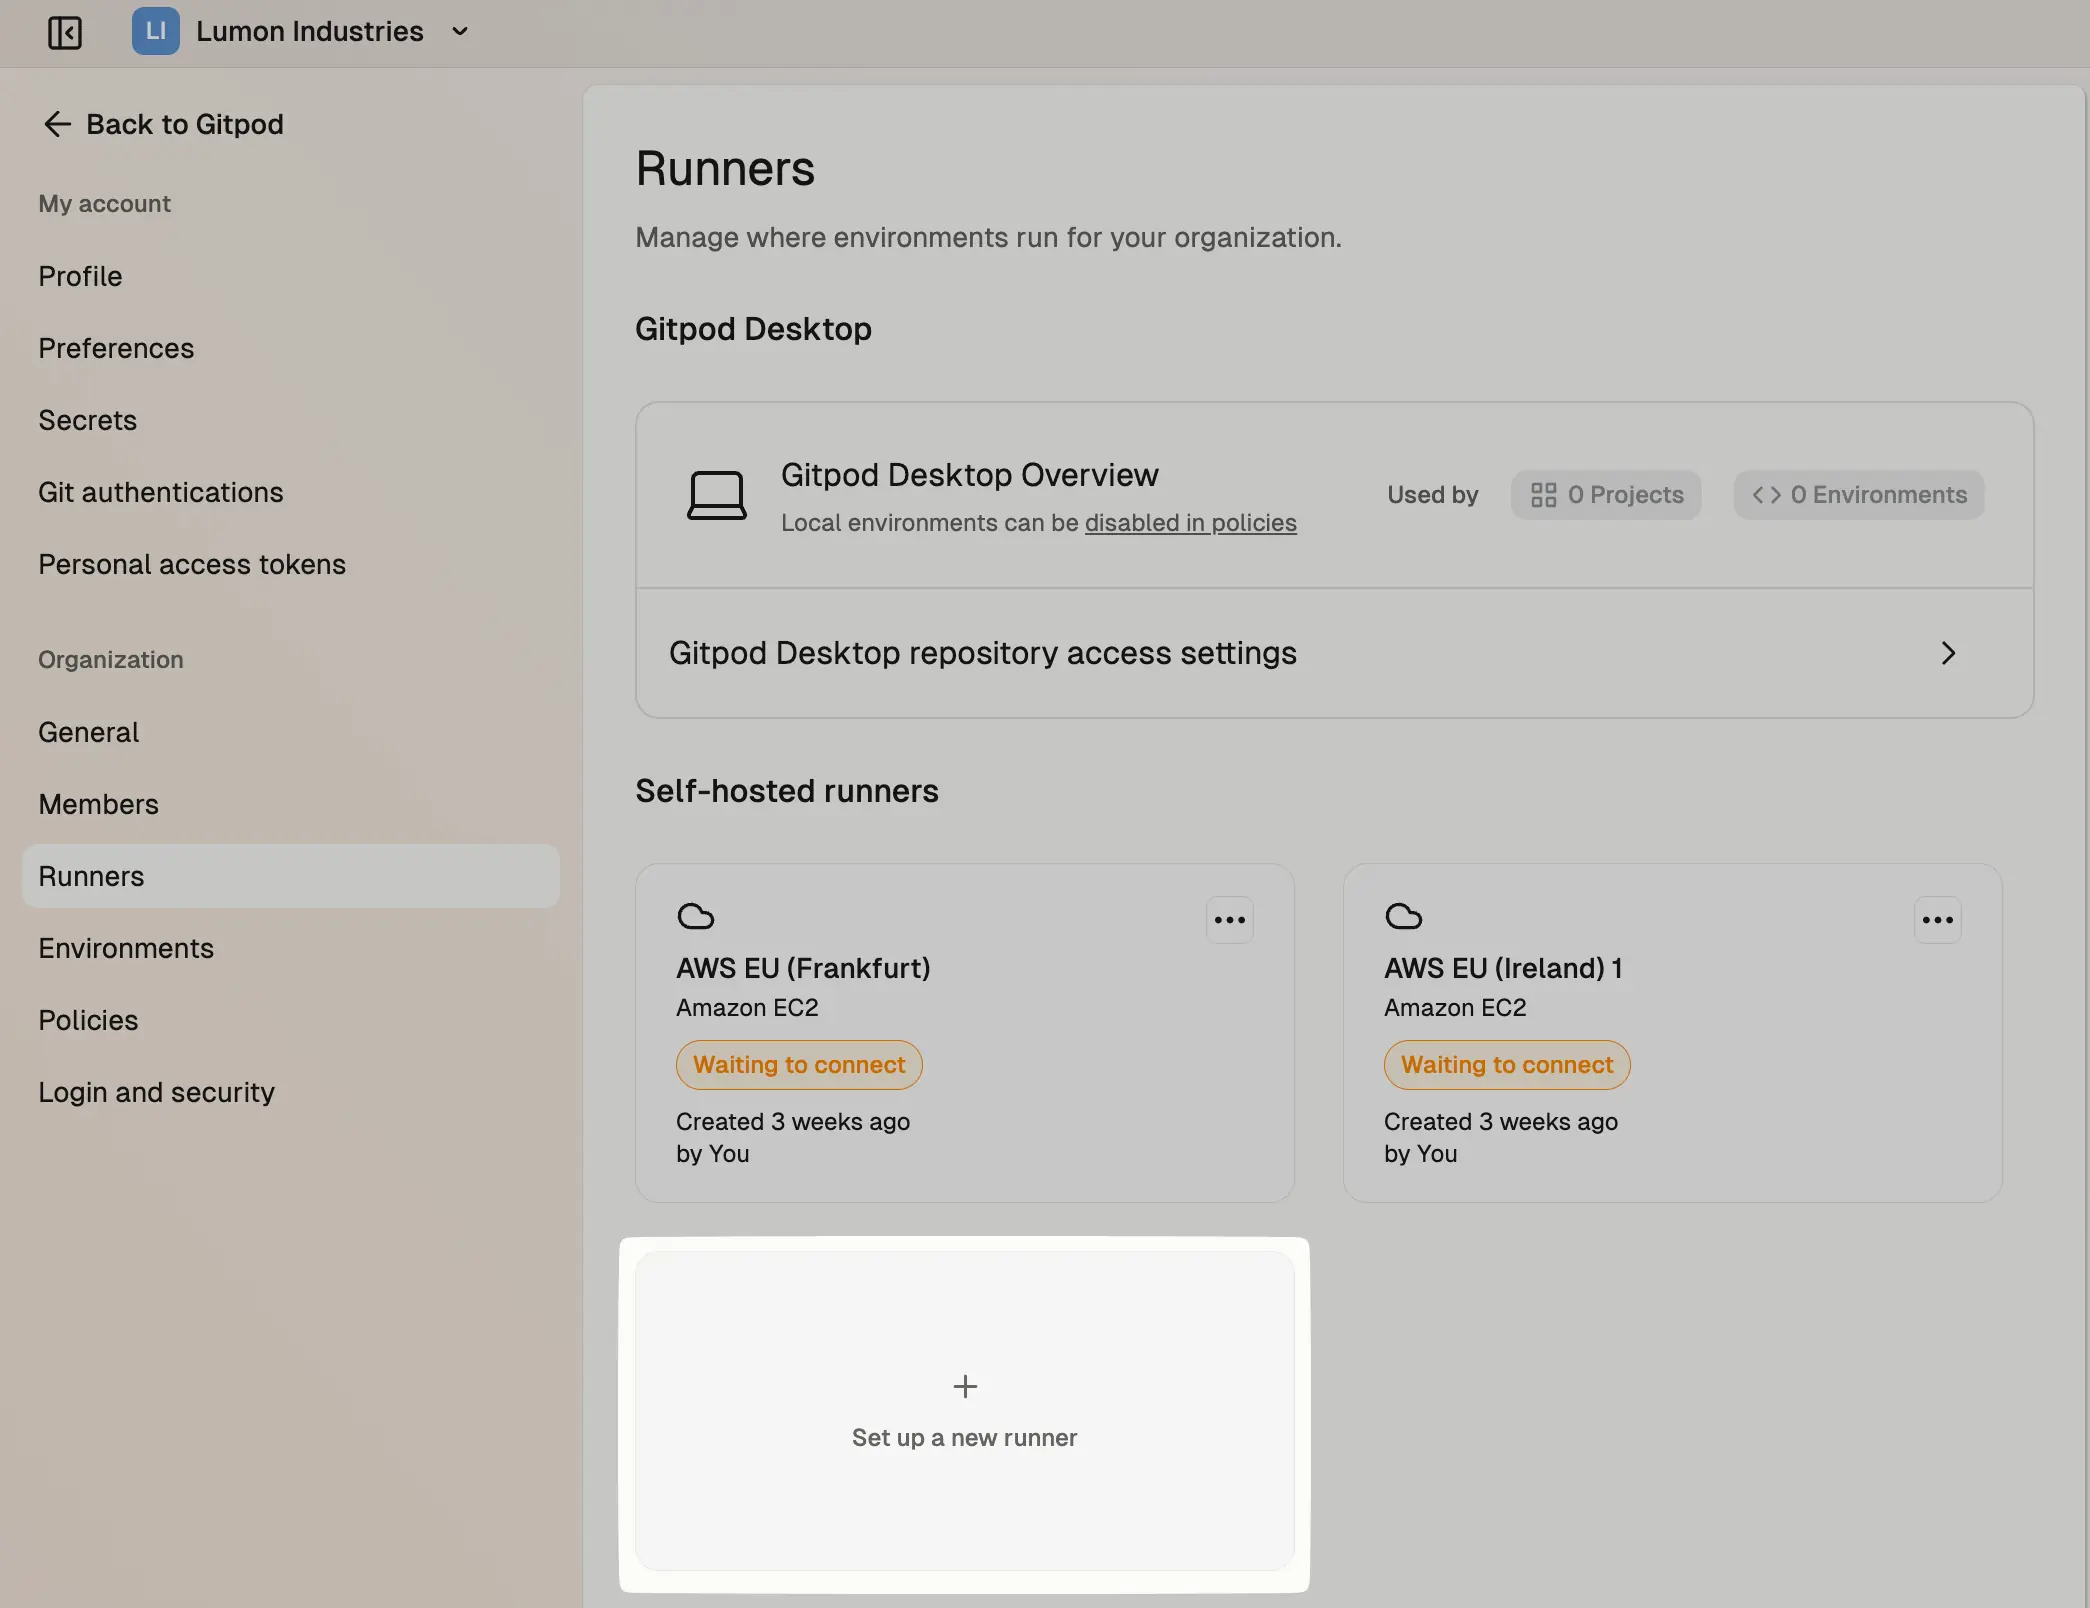
Go to Settings -> Runners, and press Set up a new runner:
Runners in settings

Provider selection

CloudFormation Template selection
Runners are regional, and can only launch Environments in the AWS region
they are deployed in. For a multi-region support we recommend to set up
multiple Runners in different regions. The region cannot be changed once
deployed, but you can deploy multiple Runners in different regions.

Add a AWS Runner

Runner details
CloudFormation Template Deployment
Next, ensure you are signed into the right AWS account in the AWS console, and then press Open AWS CloudFormation to start deploying the Runner into your AWS account. This will link you to the AWS console to create the CloudFormation stack:
Create stack in AWS

Parameters configuration in AWS

AWS stack capabilities

AWS stack component diagram
The CloudFormation stack should deploy between 3-10 minutes.

AWS Runner configuration complete