Gitpodifying — The Ultimate Guide
I recently stumbled upon a new project on GitHub that piqued my interest. It proposed a new type of database that I was dying to try out. So I cloned their repository, and looked at their README for a way to build their code.
After activating a Python 3.7 virtual env and running pip install -v -e . as suggested, I was soon faced with a rather cryptic build output. Investigating a bit revealed that some build command was failing due to a missing package: zlib1g-dev. I figured out the right incantation to install it on my machine, then tried again. Next it was libreadline6-dev that was missing. After a few similar iterations, I guessed that the project probably needed all PostgreSQL build dependencies, so I went ahead and installed all that. Yet somehow the project still wouldn’t build, showing yet another error, but by then I was out of free time and had to call it a day. Sadly, I hadn’t been able to run this project even once.
If you’re a developer, this scenario probably sounds familiar. In fact, that repository’s setup instructions were already pretty helpful, but still we frequently face these kinds of setup problems — you probably have similar stories of your own. In the software industry, we collectively lose too much time and energy setting up many projects, on countless systems, often in half-broken ways.
What if there was a better way to do this? Maybe one day we can all just forget about troubleshooting build dependencies, and simply focus on the projects’ code itself? I have good news: Developer environments can be automated, in the form of scripts and Dockerfiles in your repository, in a way that allows anyone interested in your project to get a ready-to-code environment for free in seconds, without having to worry about dependencies ever again. How does it work? I’m glad you asked!
| The idea in brief | |
|---|---|
| The problem | Figuring out which dependencies, tools, and language versions to install to properly configure a dev environment takes a lot of time and energy, and has to be repeated from scratch every time you use a different computer, and for every new project. |
| The cause | Most setup instructions are written in a format that is not executable or reproducible, like plain text in Markdown files. |
| The solution | To solve this problem for every developer of your project, setup instructions should be written in a format that is executable, like scripts and Dockerfiles, and ideally versioned and shipped with your code. Gitpod was invented to make this easy. |
Introducing Gitpod
So you’re ready to fully automate your GitHub project’s development setup? That’s great! I’m here to help you achieve this. 👍
In this guide, I will be using Gitpod, a free developer service that makes it easy for maintainers to automate any non-executable setup instructions as code. If you follow it, you will end up with a button that launches pre-configured containers for your project, thus allowing everyone to check out your repository and run your code in a single click.
The first thing you’ll probably want to do is try opening your repository in Gitpod. You can do this by navigating to your GitHub project root, and then typing gitpod.io/# before the URL. It should look a bit like this:

 bash
bashgitpod.io/#https://github.com/gitpod-io/websiteWhen you see the IDE and Terminal, just try building and running your project as usual. Maybe it will just work out of the box, but maybe you’ll notice that something is missing or broken, and you can iterate on your Gitpod setup to fix it (see table of contents below).
Once you’re happy with your automated setup, a cool way to guide your contributors toward it is to add a Gitpod badge to your README. Here is a Markdown snippet you can use (just replace the ... with your repo):
markdown[](https://gitpod.io/#https://github.com/...)
Happy with your onboarding experience? Great! You’re all set. 🎉
Do you wish Gitpod would do more for your project? Then please read on. 👇
Table of contents
- Introducing Gitpod
- Table of contents
- Running init scripts
- Accelerating startup with prebuilt workspaces
- Installing missing packages
- Installing databases
- Getting a Virtual Desktop
- Opening previews
- Solving common preview problems
- Setting env variables
Running init scripts
Adding a .gitpod.yml file at the root of your repository allows customizing Gitpod for your project. A useful thing it can do is running scripts on start-up (or sometimes even before start-up: the Gitpod app can watch your repo and start pre-building the init step for every commit, see the next section for more info):
ymltasks:
- init: npm install
command: npm start(Please note the single - symbol: init and command should run in the same Terminal, one after each other.)
To open multiple Terminals on startup, just add more - entries under tasks:
ymltasks:
- init: npm install
command: npm run server
- command: npm run clientBut this example probably won’t work, because npm run client likely also needs dependencies from npm install, so you might get an error like this in your second Terminal:
Error: Cannot find module 'lib'
In order to make a Terminal wait for another Terminal to finish some task (e.g. installing dependencies), you can use the gp sync-done and gp sync-await commands like so:
ymltasks:
- init: |
npm install
gp sync-done installation
command: npm run server
- init: gp sync-await installation
command: npm run clientTo learn more about configuring Terminals, please visit the docs.
Accelerating startup with prebuilt workspaces
With medium-to-large GitHub projects, your init step might take a long time to complete, especially if you need to compile code. To avoid that you and your contributors wait forever, you can make Gitpod auto-build your repository on every push, and start building workspaces even before Gitpod is opened. This will shave up to several minutes off your workspace loading times, and make your developers very happy.
To enable prebuilt workspaces, simply install the Gitpod app for your GitHub repository, and Gitpod will start auto-building all your branches and Pull Requests continuously in the background.
Optionally, you can then customize the app’s behavior for your project by editing your .gitpod.yml like so:
ymlgithub:
prebuilds:
# enable for the master/default branch (defaults to true)
master: true
# enable for all branches in this repo (defaults to false)
branches: false
# enable for pull requests coming from this repo (defaults to true)
pullRequests: true
# add a check to pull requests (defaults to true)
addCheck: true
# add a "Review in Gitpod" button as a comment to pull requests (defaults to false)
addComment: falseTo see all configuration options for the Gitpod app, please visit the docs.
Installing missing packages
The default Docker image for all Gitpod workspaces (gitpod/workspace-full) already comes with many common developer tools. But sometimes you may see an error like this one:
bash: tool: command not found
And if you try to install it locally using sudo, you might see an error like this:
sudo: effective uid is not 0
The solution is to write a small Dockerfile for your project. If a particular tool is missing in your Gitpod workspace, simply add this at the top of your .gitpod.yml:
ymlimage:
file: .gitpod.dockerfileThen add a new file called .gitpod.dockerfile at the root of your repository, containing:
dockerfileFROM gitpod/workspace-full
RUN sudo apt-get update \
&& sudo apt-get install -y \
tool \
&& sudo rm -rf /var/lib/apt/lists/*From now on, every new Gitpod workspace that will be opened for your repository will come with tool pre-installed. Cool right?
Installing databases
Many projects need a database to work properly. Here is how to install the most common databases in Gitpod — take your pick! (If yours is missing please let us know, we’d love to help you.)
PostgreSQL
To get PostgreSQL for your project, you can use our dedicated PostgreSQL image.
Simply put the following line to your .gitpod.yml file:
ymlimage: gitpod/workspace-postgresThis will give you an auto-starting PostgreSQL server (it should auto-start every time you open a new Terminal), plus a few utility scripts that you can run in a Terminal or in a .gitpod.yml command:
pg_start: start the PostgreSQL servicepg_stop: stop the PostgreSQL servicepg_ctl status: check if the PostgreSQL service is running
Once the PostgreSQL server is running, you can use the psql CLI as usual:
bash$ psql -h localhost -d postgres
psql (10.8 (Ubuntu 10.8-0ubuntu0.18.10.1))
Type "help" for help.
postgres=#MySQL
If your project needs MySQL to work, we also have a dedicated MySQL image. Simply base your .gitpod.dockerfile on:
dockerfileFROM gitpod/workspace-mysqlThen you’ll get an auto-starting MySQL server, and you can use the mysql CLI like so:
bashmysql -e "show databases;"Redis
To install Redis for your project, simply add these instructions to your .gitpod.dockerfile:
dockerfileFROM gitpod/workspace-full
# Install Redis.
RUN sudo apt-get update \
&& sudo apt-get install -y \
redis-server \
&& sudo rm -rf /var/lib/apt/lists/*Then, you’ll be able to start the Redis server by running this in a Terminal or in a .gitpod.yml command:
bashredis-serverMongoDB
To get MongoDB for your project, you can use our dedicated MongoDB image built on top of gitpod/workspace-base.
Simply base your .gitpod.dockerfile on:
dockerfileFROM gitpod/workspace-mongodbThen start the MongoDB server by running this in a Terminal or in a .gitpod.yml command:
bashmkdir -p /workspace/data && mongod --dbpath /workspace/dataNote: Storing MongoDB’s data inside /workspace ensures that it will get backed up and restored properly when you stop and restart a workspace, or share a snapshot.
Getting a Virtual Desktop
If your application needs to run a graphical UI, you might see an error like this:
Gtk: cannot open display: :0
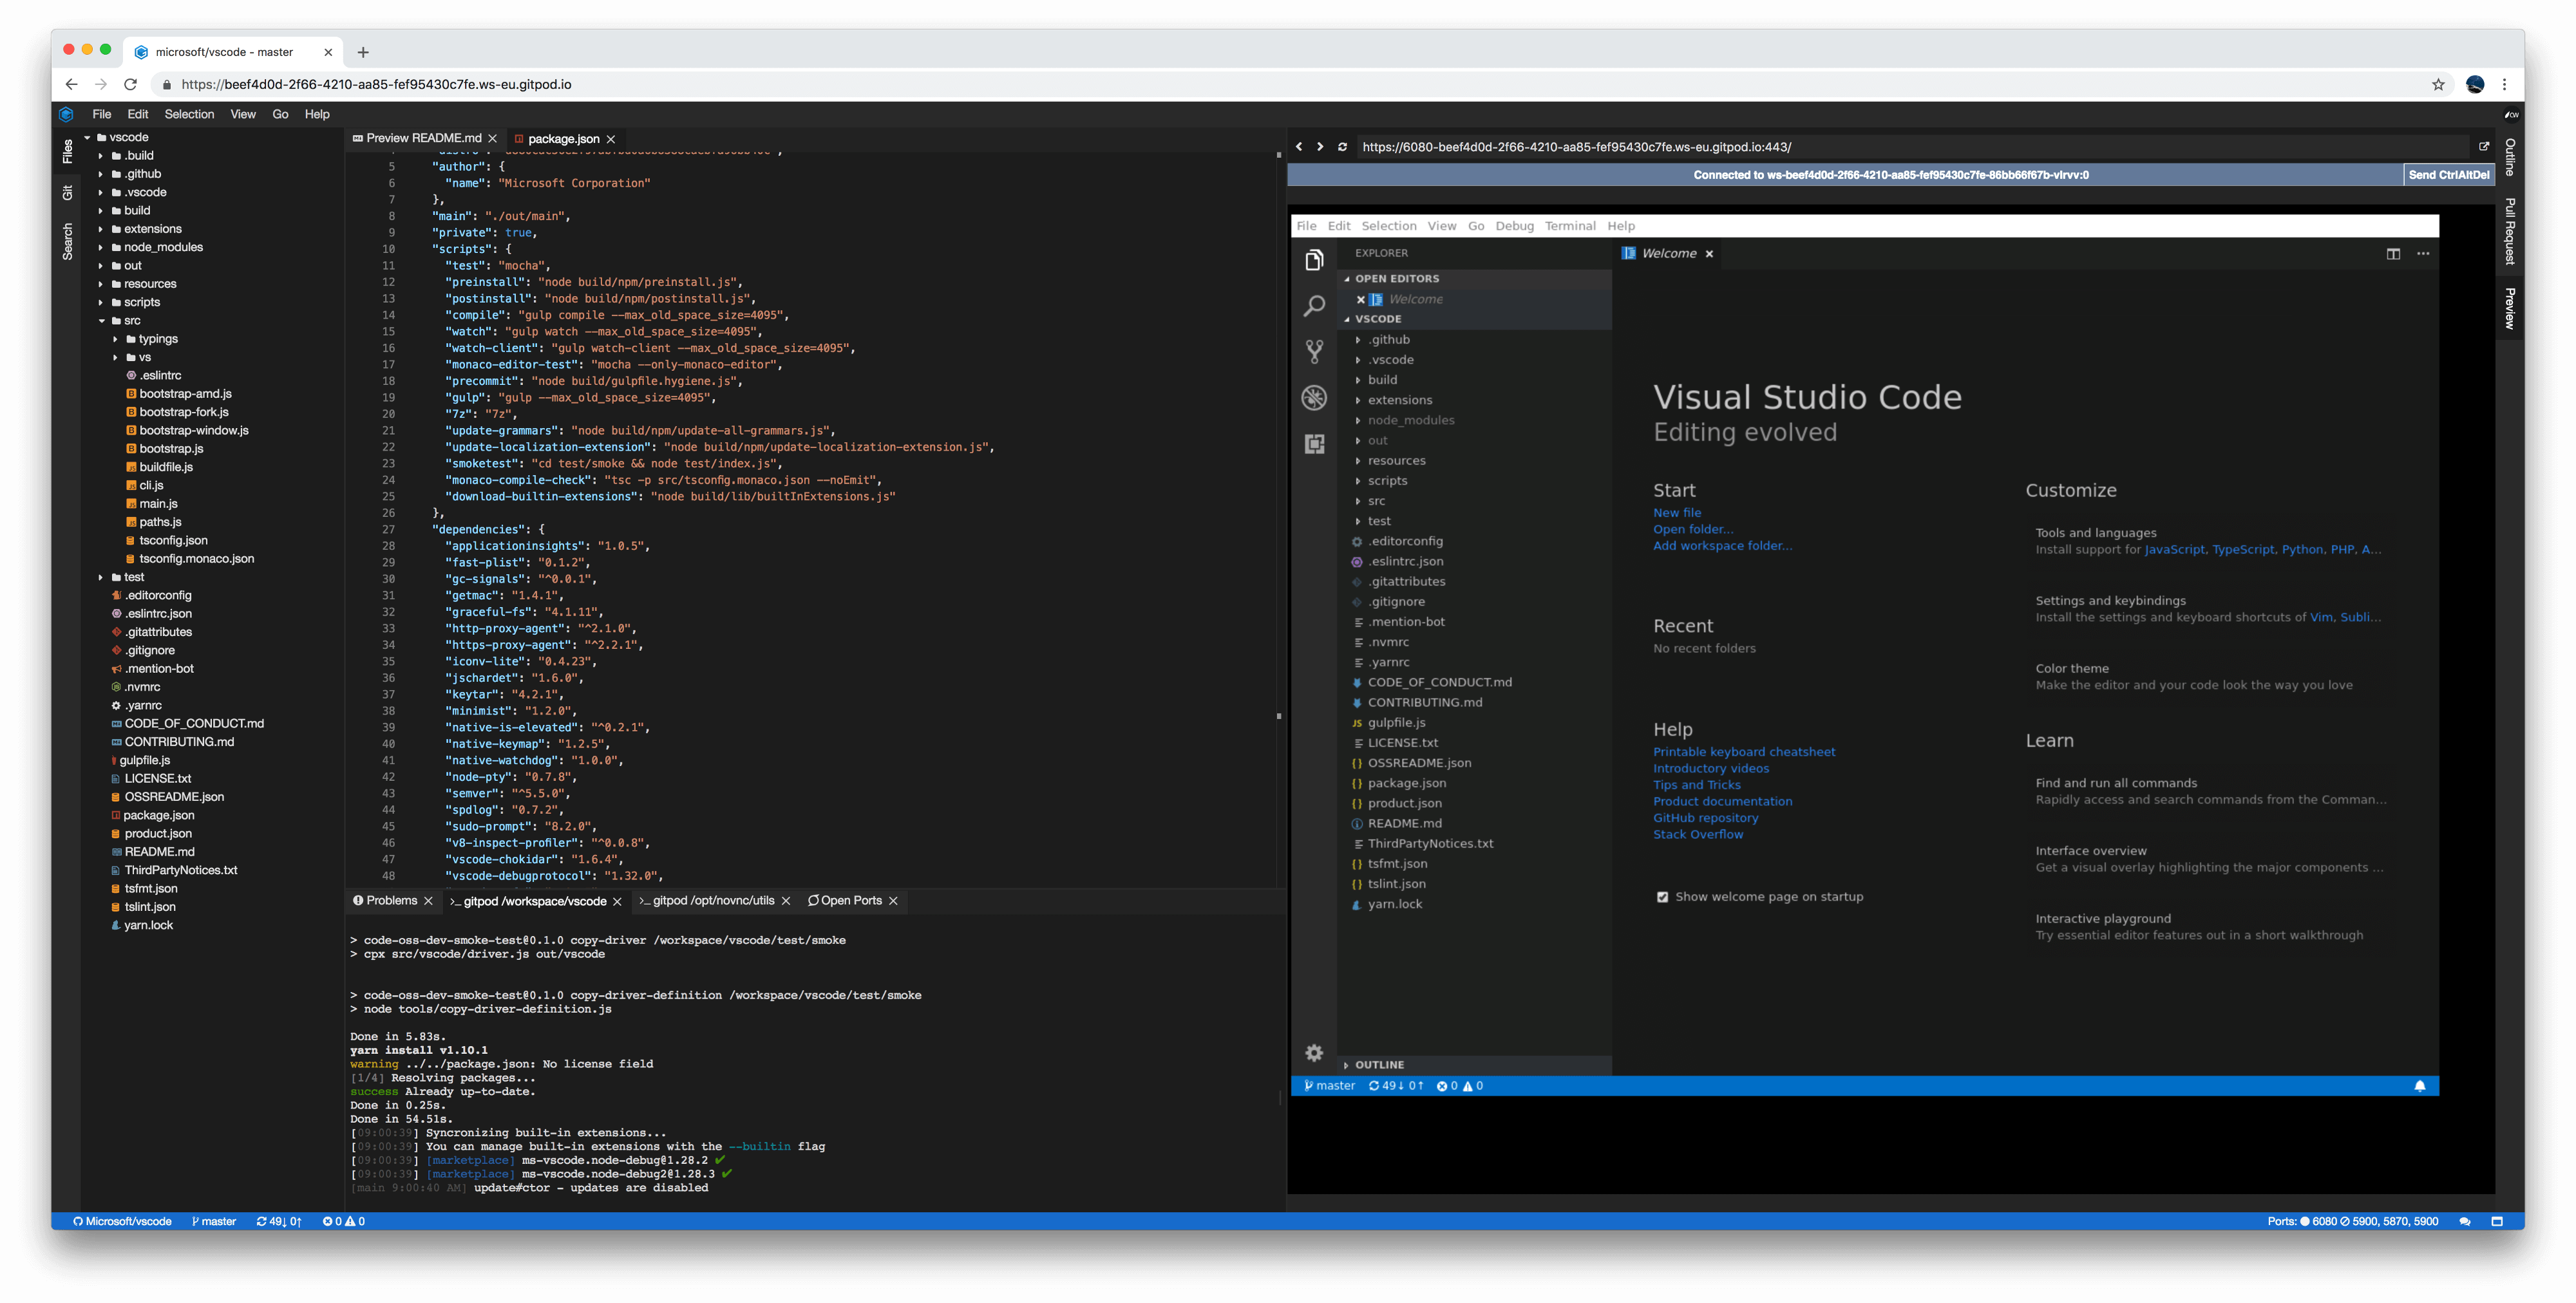
That’s because by default, Gitpod workspaces don’t have a graphical environment at all. Luckily, we have a dedicated noVNC image built on top of gitpod/workspace-full that comes with a Virtual Desktop.
Simply base your .gitpod.dockerfile on:
dockerfileFROM gitpod/workspace-full-vncThis will give you a virtual X server and a Remote Desktop client running on port 6080:
This can be useful for example to run Electron apps graphically. For that, you’ll just need a few extra dependencies in your .gitpod.dockerfile:
dockerfileFROM gitpod/workspace-full-vnc
# Install Electron dependencies.
RUN sudo apt-get update \
&& sudo apt-get install -y \
libasound2-dev \
libgtk-3-dev \
libnss3-dev \
&& sudo rm -rf /var/lib/apt/lists/*To learn more, please see our dedicated post on Developing native UI applications in Gitpod.
Or check out this fun Windows 95 in Electron example (see the Gitpod demo, .gitpod.yml, and Dockerfile).
Opening previews
Gitpod will automatically detect when processes like web servers start listening on a port, and display a notification that allows you to open a web preview:

If you want to suppress these notifications, or pre-configure a specific behavior, you can do this in your .gitpod.yml file:
ymlports:
- port: 8080
onOpen: open-preview
- port: 9000-9999
onOpen: ignoreAnother way to open web previews is to run gp preview <url> in a Terminal or in your .gitpod.yml commands. This can be used in combination with gp url <port> to open a web preview for a given port, like so:
ymltasks:
- command: python3 -m http.server 8080
- command: gp preview $(gp url 8080)However, if the preview opens too soon, you might see an error like this:
Port 8080 didn’t respond
If you’d like a task to run only when a given port becomes active, you can use gp ports await <port> like so:
ymltasks:
- init: npm install
command: npm run server 3000
- command: gp ports await 3000 && gp preview $(gp url 3000)If the Port X didn't respond error persists, please double-check in the Terminal output that your server is actually running on that port, then refresh the Preview pane. (Or, if it’s a Browser tab, please close it and re-open it from the IDE’s “Open Ports” view — refresh isn’t currently supported for Browser preview tabs).
Solving common preview problems
Sometimes web servers like to negotiate a little before accepting to serve your precious content. Here is how to troubleshoot the most common issues.
Invalid Host Header
Since we’re running in a cloud workspace, URLs like localhost:3000 should be converted to something like 3000-abc-123.ws-eu0.gitpod.io. You can get the exact preview URL for a port by running gp url <port>, or by checking the “Open Ports” IDE view.
This custom hostname may annoy servers like webpack-dev-server, because they usually only accept requests on localhost. So you might see an error like this one:
Invalid Host Header
To make your server accept non-localhost requests, you can use the following CLI parameters (e.g. with webpack-dev-server or ng serve):
--host 0.0.0.0 --disable-host-check
Or you can edit your webpack.config.js, or vue.config.js, like so:
jsdevServer: {
host: '0.0.0.0',
disableHostCheck: true,
},Alternatively, if you don’t want to use disableHostCheck, you can also add '.gitpod.io' to your allowedHosts, like so:
jsdevServer: {
host: '0.0.0.0',
allowedHosts: ['localhost', '.gitpod.io'],
},See all webpack-dev-server configuration options here.
If you don’t have direct access to the dev server configuration, e.g. when using frameworks like Create React App, you might want to look in the framework’s docs for a similar option, like CRA’s environment variable DANGEROUSLY_DISABLE_HOST_CHECK:
ymltasks:
- before: export DANGEROUSLY_DISABLE_HOST_CHECK=true
init: yarn install
command: yarn startCSP errors
If the Preview pane still refuses to display your web app, please open the Browser Console (e.g. by typing F12 or by exploring your Browser menus). In there, you might see errors mentioning things like:
X-Frame-Options
Or:
CSP frame-src
These mean that your web app refuses to be opened inside an <iframe>, for security reasons (that’s what the Preview pane uses to display web apps). In that case, please open previews in an external Browser tab instead, e.g. by going to the “Open Ports” IDE view and clicking the Open Browser button.
Unreachable localhost URLs
If your web app starts to show up in a preview, but it doesn’t work well, the Browser Console might reveal failing requests to localhost URLs like:
bashhttp://localhost:9000/api/v1/This happens for example with some Angular apps, that like to run a web client on a port like 3000, and an API backend on a different port like 9000.
If that’s your case, you can try two things:
- Replace all references to
localhost:9000in your web client with the result of thegp port 9000command (should be something like9000-abc-123.ws-eu0.gitpod.io) - Configure your port
3000server to proxy certain requests (e.g. starting with/api) tolocalhost:9000on the server-side
You can sometimes do 1. with a simple configuration change, and here is how you can achieve 2. in an Angular app using the Angular CLI:
Create a new file called proxy.config.json, that includes a proxy route like:
json{
"/api": {
"target": "http://localhost:9000",
"secure": false
}
}And then point ng serve to that file using the --proxy-config parameter:
bashng serve --proxy-config proxy.config.json --host 0.0.0.0 --disable-host-check --port 3000For a complete example using PostgreSQL, Angular CLI, disableHostCheck, and a backend proxy, please check out the PeerTube project (.gitpod.yml, Dockerfile, proxy.config.json, ng serve command).
No usable sandbox
Ok this is not really a preview problem, but I thought I’d mention it here anyway since we’re already troubleshooting.
More and more projects are using headless Chrome as a dependency (e.g. via Puppeteer), and when running it in Gitpod, you might see an error that looks like:
Error: Failed to launch chrome!
No usable sandbox!
In this case, you’ll want to use Chrome’s --no-sandbox and/or --disable-setuid-sandbox flags. With Puppeteer, it may look like this:
jsconst browser = await puppeteer.launch({
args: ['--no-sandbox', '--disable-setuid-sandbox'],
});Setting env variables
Sometimes, your project needs some extra information that is either a secret, or it’s different for each developer. A good example is tokens or credentials that are used to interact with external APIs or services. A good way to give these values to your project setup is via environment variables.
To ensure that a required env variable called TOKEN is defined, you can do something like this in your .gitpod.yml:
ymltasks:
- command: >
while [ -z "$TOKEN" ] ; do
printf "\n❗ The TOKEN environment variable is required. Please enter its value.\n" &&
read -s -p "TOKEN: " TOKEN ;
done ; gp env TOKEN=$TOKEN && printf "\nThanks\n"
# Now you can use $TOKENThis will check the value of $TOKEN, and if it’s empty, it will ask the user to manually type its value into the Terminal, and then save that value for future workspaces with gp env.
If you need to have these values inside a file, you can add something like this to your .gitpod.yml commands:
ymltasks:
- command: echo "$SSH_PRIVATE_KEY" > ~/.ssh/id_rsaAnother (unsafe) way to pass an env variable to a single workspace is to add it in the Gitpod context URL, like so:
bashhttps://gitpod.io/#TOKEN=value/https://github.com/gitpod-io/website(But please don’t use this for security-sensitive data like passwords and private keys, because URLs can easily be intercepted. Also, note that values should be URL-encoded.)
Finally, users can also manage env variables for all their workspaces by visiting gitpod.io/environment-variables. You can learn more about managing Gitpod env variables in the docs.
For a complete example of a project that requires env variables (saved in .yml config files), please see the dev.to project’s .gitpod.yml.
Phew… that’s about it! I hope you enjoyed reading through this guide and that it helped you in some way. If you still have questions or suggestions, please let us know. I’d love to help you and make this guide more useful.
