Ephemeral development environments with a Cloud Development Environment (CDE)
In 2014, Martin Fowler published a post titled: “You must be this tall to use microservices” where Fowler points to three prerequisites for success with microservices: rapid environment provisioning, rapid deployment, and monitoring. The article is as true today as it was then.
As our systems grow in complexity, we are seeing a rise of companies looking to solve the challenge of “ephemeral environments”. We need ways to rapidly provision environments to test our changes—preferably in a cost-efficient way, that is also easy to debug and support. Fowler concludes by saying “You’ll need to organize your development environment so developers can easily swap between multiple repositories, libraries, and languages.”
In 2014 automated development environments weren’t easy, that is unless you were a tech giant with a huge cloud budget and a heavily staffed tooling team. However, today, with innovations in tools like VS Code and JetBrains any company can have automated development environments by leveraging Cloud Development Environments (CDEs). The big question is how do CDEs work exactly? And how do they enable ephemeral environments?
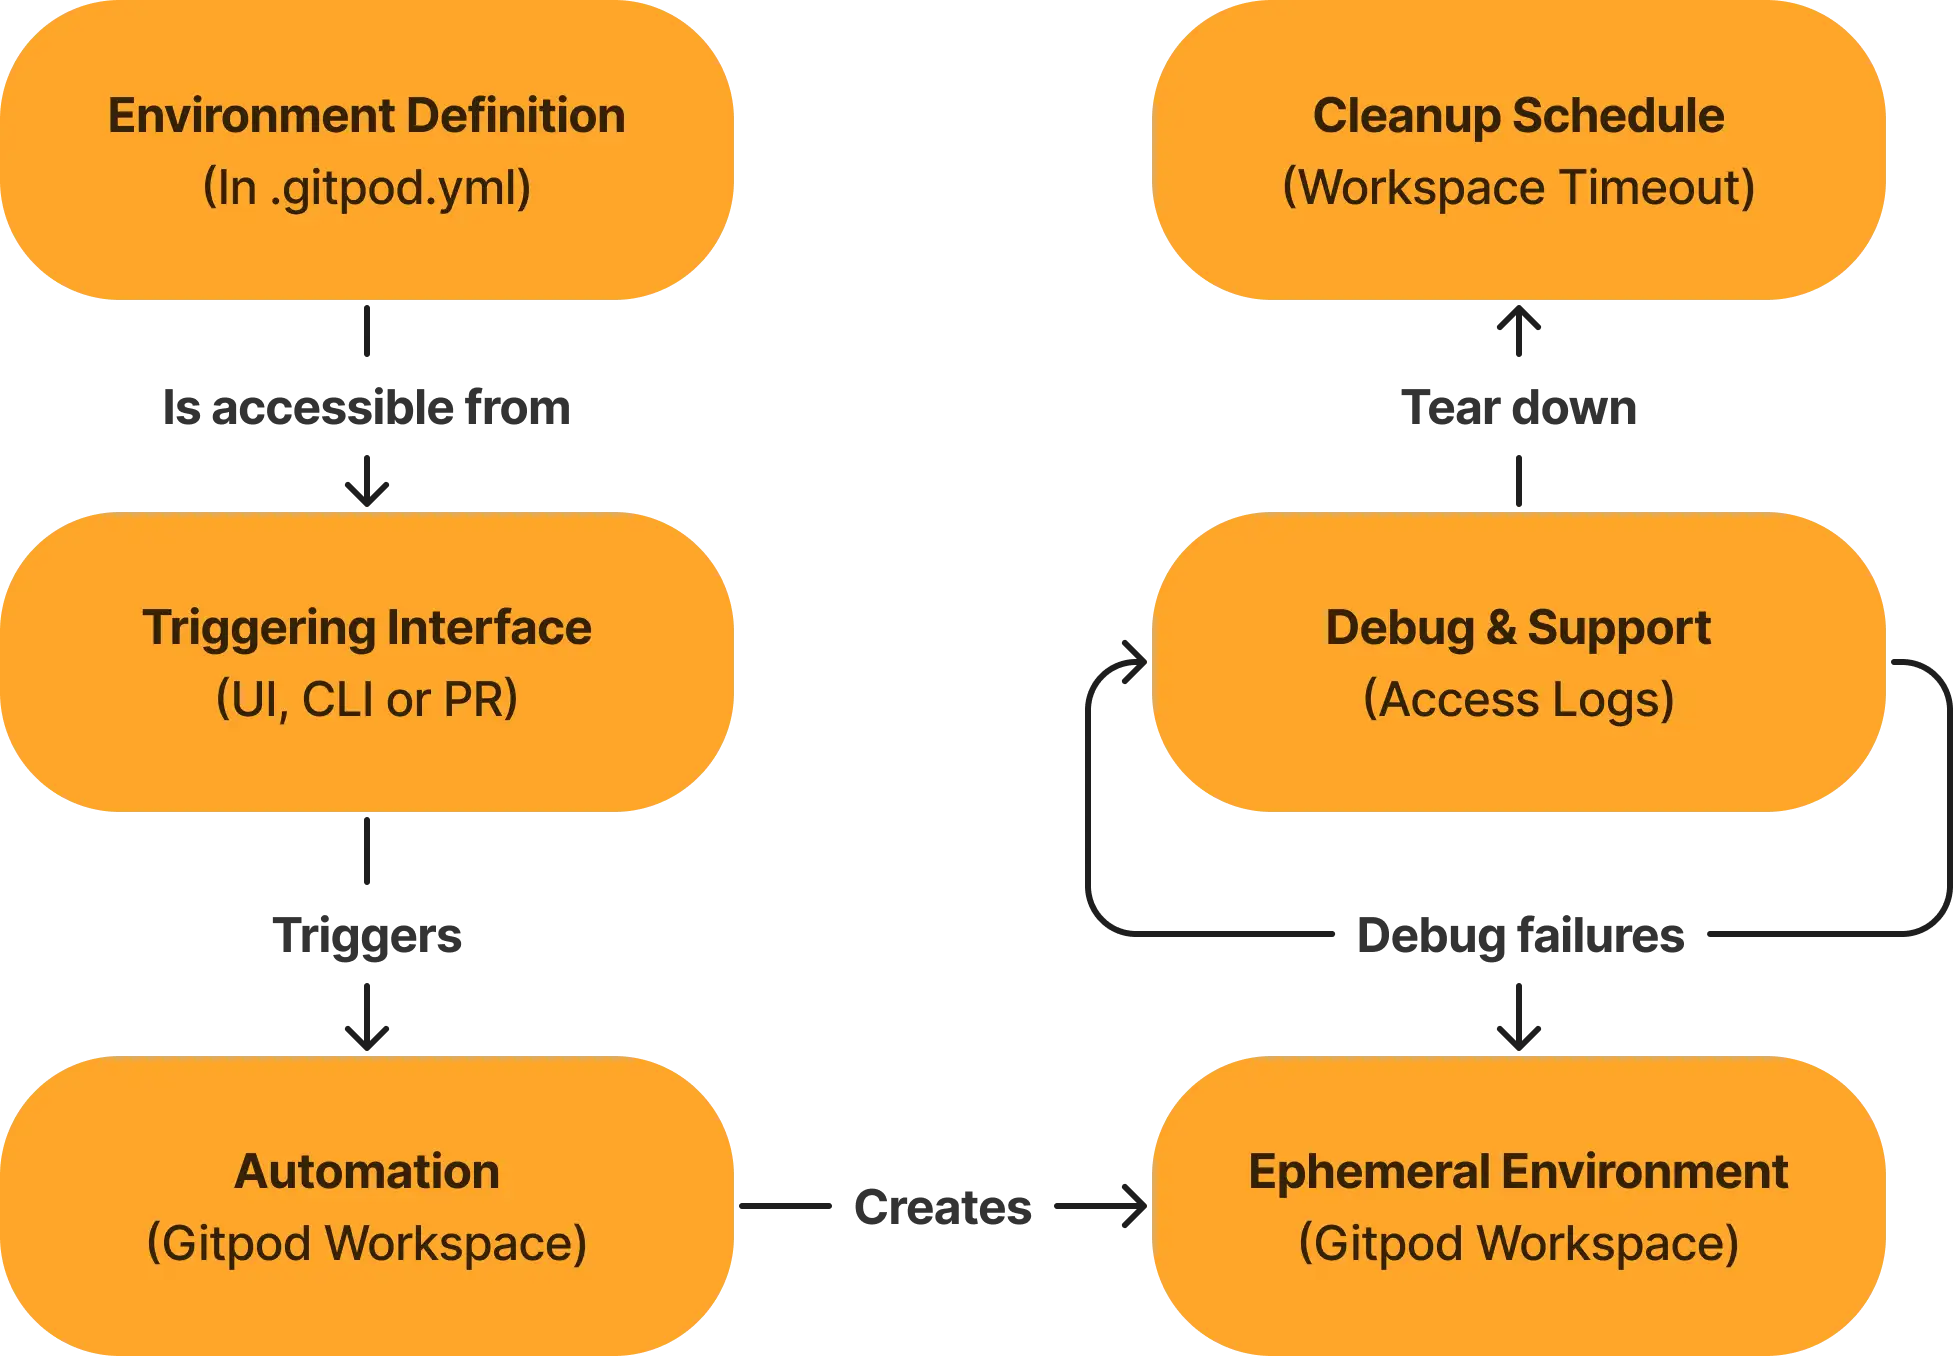
In this article we cover the critical elements of an ephemeral environment solution which are: the environment definition, using a self-service interface to spin up ephemeral environments, debugging, and also finally ensuring environments are cleaned up for cost-efficiency.
Why are Ephemeral Environments trending?
There are a few driving forces behind the interest in ephemeral environments.
A big driver we see is from companies using microservices architecture and Kubernetes. As a Kubernetes setup evolves, the gap of configuration between local environments (e.g. Docker and Docker Compose) and the upstream remote environments only widens. It can become harder to run many containers locally, and can end up feeling like you’re trying to “fit the whole world” onto a developer laptop. We call this challenge the “Kubernetes chasm of doom”.
But, the challenge is not unique to microservices and Kubernetes. It’s really the age-old challenge of software engineering. How do we ensure our developers get fast feedback? When developers make a change they need to know as soon as possible if another service has been affected by their change. This is the “continuous integration” challenge we’ve been wrestling with as an industry for decades, and there isn’t necessarily a silver bullet.
That all being said—ephemeral environments help us to speed up feedback loops for developers. Ephemeral environments, as compared to “static environments” are short-lived, are often integrated with pull request flows, creating a self-serve way for developers, QA or other team members to review a change in an isolated production-like environment typically before merging a pull request.
Components of an ephemeral environment solution
We’ve talked a lot about the challenges that ephemeral environments solve—let’s move on to the component parts of an ephemeral environment solution:
Environment definitions - We need a way to define what our development environment should look like when provisioned—the tools that it needs, and the services we need to connect to. In some cases we might also want to re-use our existing environment definition files like docker containers or images, docker-compose configurations, or Kubernetes manifest files.
A way to launch our environments - We need to trigger creation of an environment—ideally in a friendly way to those using it. We could “throw infrastructure-as-code” modules at our problem, but we need to take into account the knowledge of those who consuming the environments. Sometimes it’s not just developers, so a terraform module is not always the right tool.
Automation to create the environments - We will need some compute to ensure that the environment can be spun up. A go-to solution is often to re-use continuous integration pipelines or other existing automation—but that isn’t our only option. Either way, we need some form of automation.
Debugging provisioning failures - Environments can fail to provision from time-to-time, caused by service integration issues, or configuration drift, such as when a developer forgets to update an environment variable in their docker-compose or helm chart. So, we’ll need logs, and insights to why our environment might fail to provision for when it—inevitably—does.
Cleanup and cost control - Finally, we need a way to efficiently spin down our environments. We want to make sure our developers can’t forget about their environments and leave large production-like clusters running, burning through our cloud budget without us noticing.
Finally, if we’re operating as a platform team, providing ephemeral environments “as-a-service” to our company, we need to do all of the above: enabling our teams to create environments, and debug, all without creating pressure on our platform team to support in debugging the environments.
Why CDEs are a great fit for ephemeral environments
Considering the above definition, a Cloud Development Environment is perfectly situated to support this use case of ephemeral environments. Cloud development environments are on-demand, pre-configured with all tools, libraries and dependencies required to be ready-to-code. CDEs give us:
- A way to define our environments in code, and launch those environments using flexible interfaces, e.g. from a URL, a CLI, or even from other sources for developers or other stakeholders like QA.
- The necessary orchestration foundation for spinning-up and tearing-down our environments, which gives us the flexibility to have longer-lived environments, or short-lived more ephemeral environments.
The best part about CDEs is their developer-friendly nature. Because CDEs automatically come with an IDE or editor of the developers choice, or a terminal ready-to-go, developers aren’t forced to swim in cloud account logs, or learn Kubernetes just to ship a bug fix. Being developer-friendly also reduces the pressure on platform teams when something inevitably goes wrong.
CDEs don’t dictate where your development resources live. You can create as much of your development environment from within the CDE workspace as you want, and then simply provision, or connect to external resources like clusters and databases to complete your whole development environment.
Now we’ve covered what ephemeral environments are, and how CDEs help us to achieve them, let’s go one-by-one through our previous solution definition and look at how a CDE like Gitpod helps us to achieve the component parts of an ephemeral environment solution.
Defining your ephemeral environments
In Gitpod, the .gitpod.yml file is a YAML file which lives in your repository alongside your code. When an ephemeral environment (workspace) is requested, the steps defined are executed. You can optionally define a base image for the workspace, which can include all of the various tools and packages that are required for the workspace to run. See below for a simple example:
image: gitpod/workspace-full
tasks:
    - init: npm install
      command: docker-compose up

ports:
    - port: 3000
      name: Website
      description: Website Preview
Additionally, secrets can be automated into the environment using Workspace OIDC authentication. In your Gitpod YAML file you can inject a JWT token generated by Gitpod which includes identity claims about the environment, and the owner so that temporary credentials can be pulled from a cloud provider, or secrets store like Hashicorp Vault or AWS Secrets Manager.
The following example will log into an AWS account, assuming the role provided, and fetch a database connection string from AWS. The secret can then be used to access remote resources such as a database, or remote kubernetes cluster. Those resources can be created from within the gitpod workspace itself, or via a provisioning tool that exists outside of Gitpod.
tasks:
    - command: |
gp idp login aws --role-arn <aws-arn>
	aws secretsmanager get-secret-value --secret-id db_string
Enabling your team to create ephemeral environments
With the .gitpod.yml stored in our repository, our environment definition is complete, and we can move onto the next part of our solution, our interface. The best practice for any platform tool is to use the interface that is most convenient to developers. For our interface choice, we have many options.
Browser Extension
We can integrate Gitpod into our source control directly, through use of the Gitpod Browser Extension, allowing developers and other team members to create workspaces directly from pull requests.
Gitpod URL
The browser extension works under the hood by using the Gitpod URL. The URL can be used without the browser extension in the case of a custom internal developer portals, slack bot or other deep integration that allows developers to easily provision a development environment. Simply prepend any repository with your Gitpod installation hostname, e.g. gitpod.io/# to provision a workspace.
Gitpod CLI
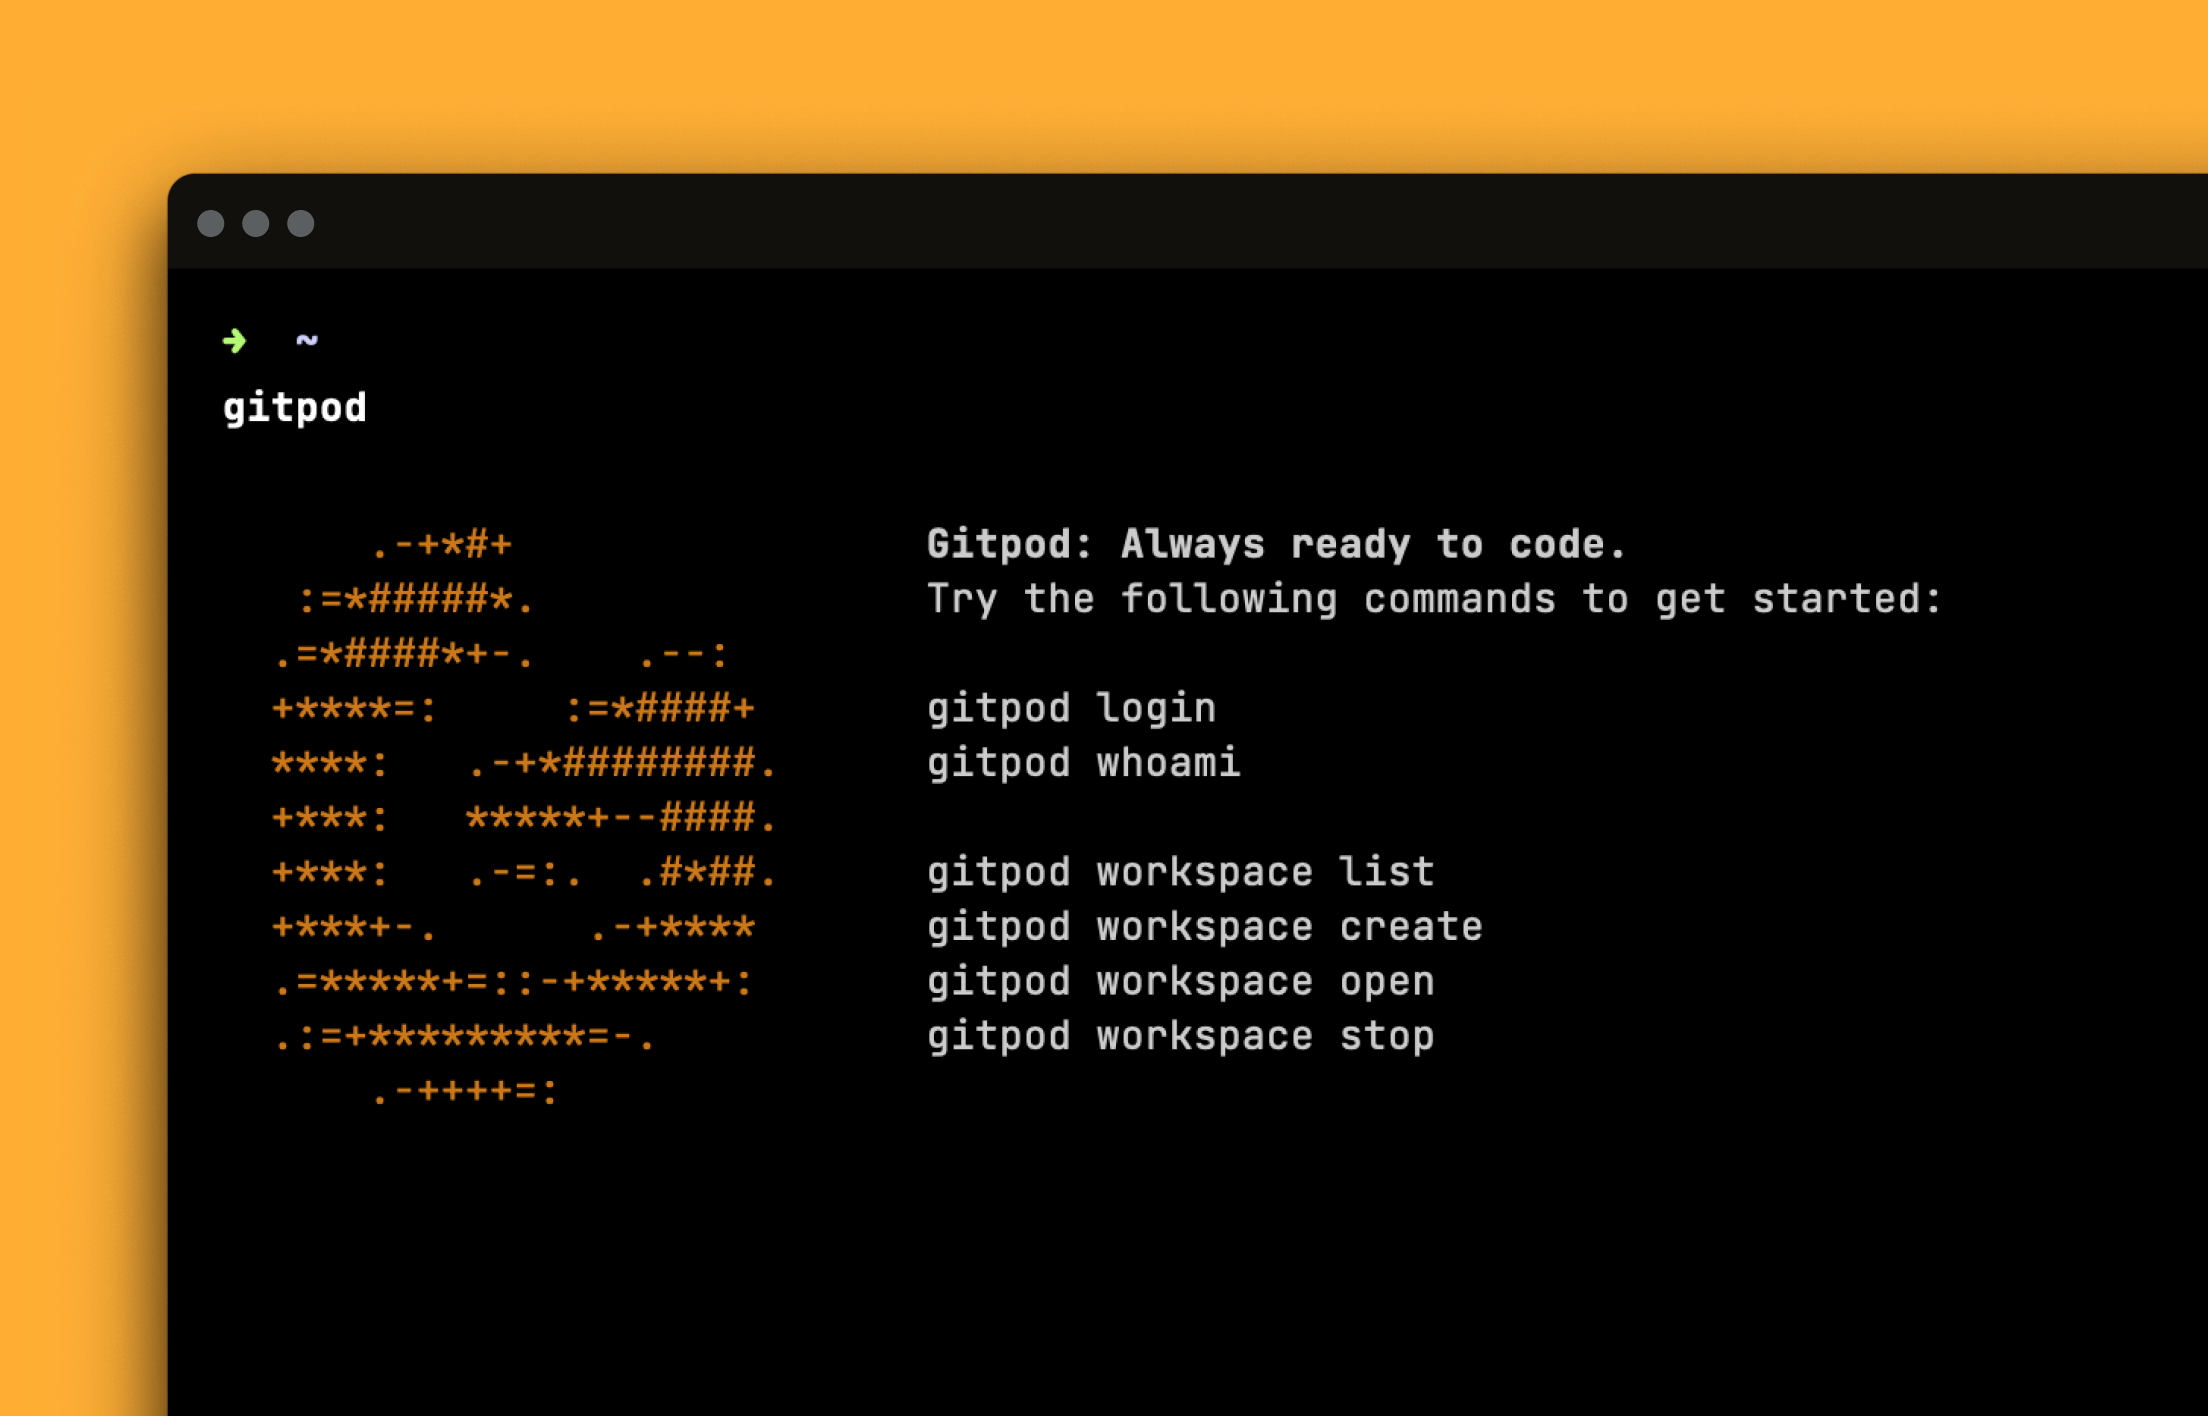
In addition, you can provision workspaces using the Gitpod CLI. Using the Gitpod CLI you can create a workspace simply by running gitpod workspace create https://github.com/gitpod-io/empty to create a workspace based on the given repository definition.
Tip: The CLI can also be wrapped and exposed through an internal CLI, for easier control over the exact commands you expose to developers, such as helping users to select the right workspace sizes, or editors to adhere to your internal platform standards.
Automating the creation of ephemeral environments
The Gitpod platform already handles the orchestration and lifecycle of the workspaces for you, so when a workspace spins up the requested workspace size is already provisioned. If all of your resources, for instance docker containers can run inside a Gitpod workspace then there is nothing else to configure, the environment will be ready for development.
Sometimes there are scenarios where you need to create resources that are external to Gitpod, such as a shared database you provision or a Kubernetes cluster or namespace. For that you have a couple of options. One method is to include the provisioning of the external resource from within the Gitpod workspace itself, such as by running a terraform command. Optionally, you can externalize the creation of workspaces. See our guides on how to set up self-service environments in a GitHub Actions pipeline or GitLab pipeline.
Debugging ephemeral environments
Environments don’t always spin up as we want, so we need to enable our developers to debug these environments simply. By running as much of your environment inside a Gitpod workspace, developers don’t have to manage credentials to login to cloud accounts, or become familiar log ingestion pipelines.
All logs are available from the development environment itself.
Cleanup of the ephemeral environments
A key aspect of ephemeral environments is precisely that they are short-lived.
So, we need some form of lifecycle to ensure that environments are cleaned up effectively. For all resources created within the Gitpod workspace, the Gitpod workspace lifecycle will handle the cleanup for you. By default, workspaces timeout after a period of 30 minutes of inactivity (this setting can be overridden with longer timeouts if needed).
When workspaces timeout, the file system is stored for next time the workspace is started. Workspaces will then be garbage collected after 14 days to keep the clutter of old environments out of your way. Users can also “pin” workspaces if they need to ensure that the workspace is never garbage collected, which is helpful when an environment will be stopped and started frequently.
And that’s it—every component of ephemeral environments, built with Gitpod.
Ephemeral Environments with Gitpod
Here you can see how a CDE like Gitpod has all the requisite components needed for building an ephemeral environment solution for your application, automated and running in a Gitpod workspace. Simply define your environment, and then start spinning up workspaces in your workflows wherever you need them, on pull requests or from your internal developer portal!
